
Disclaimer: You are responsible for making modifications to your truck. Subtle Design will not be held responsible if you damage your truck or any of its parts. Please take your time and enjoy the process.
Installation
Estimated Time: Less than 20 minutes.
Tools Needed
- Razor blade
- Ratchet
- 10mm socket and 3-6″ extension
- 10mm open-end wrench
- 4mm ball-end hex key
- 5mm hex key
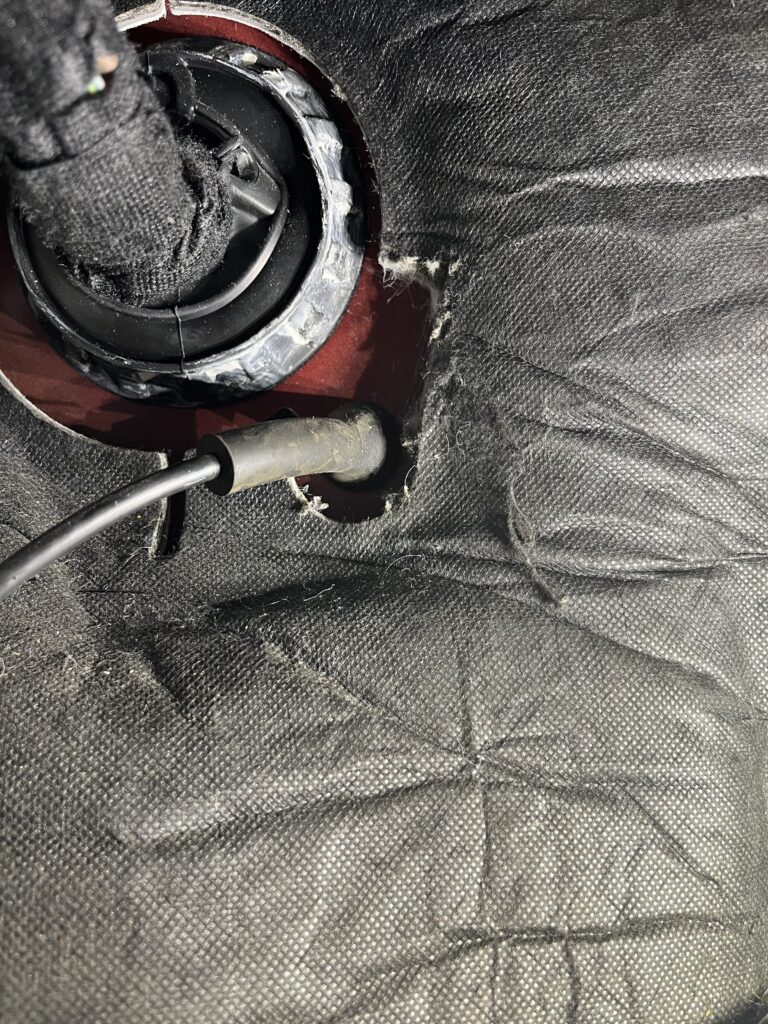
Step 1: Using a razor blade, trim away and discard a section of the factory padding material in the firewall location shown in this photo.
Step 2: Remove the factory parking brake bolt with a ratchet, 10mm socket and 3-6″ extension. You will reuse this bolt.
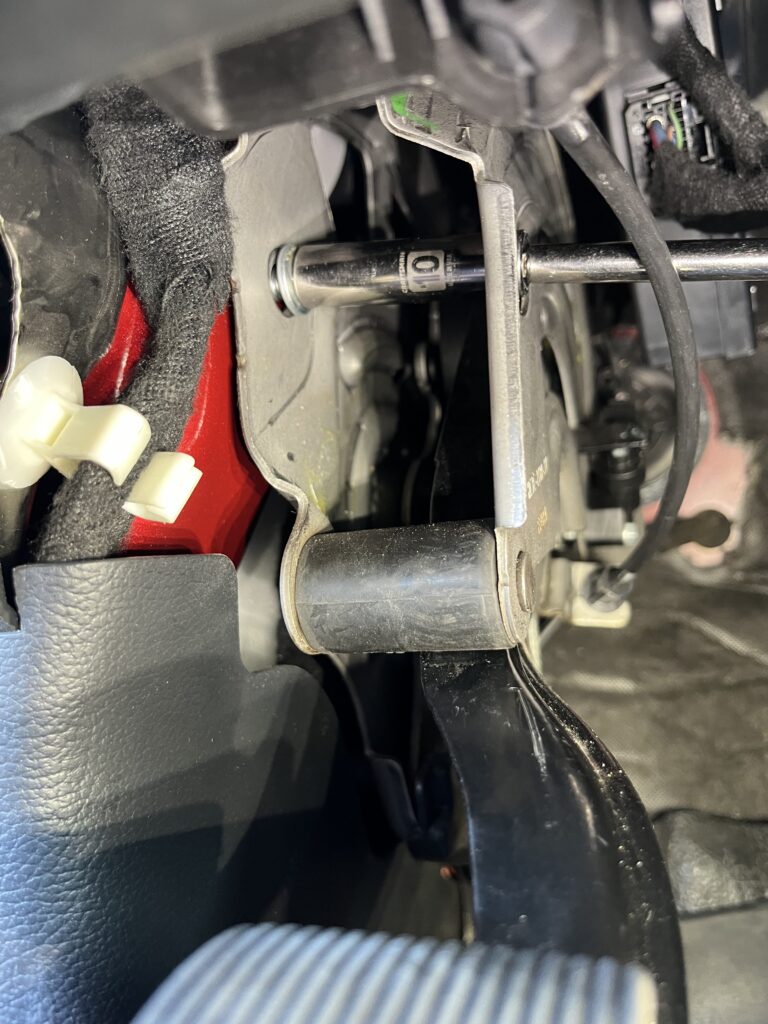
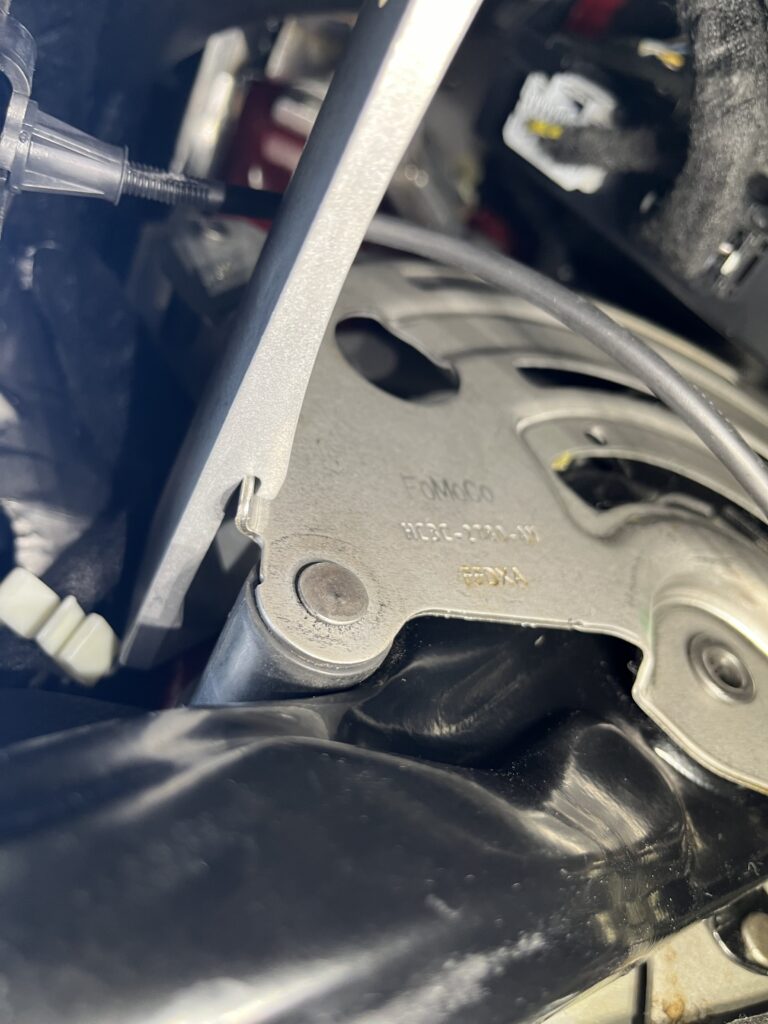
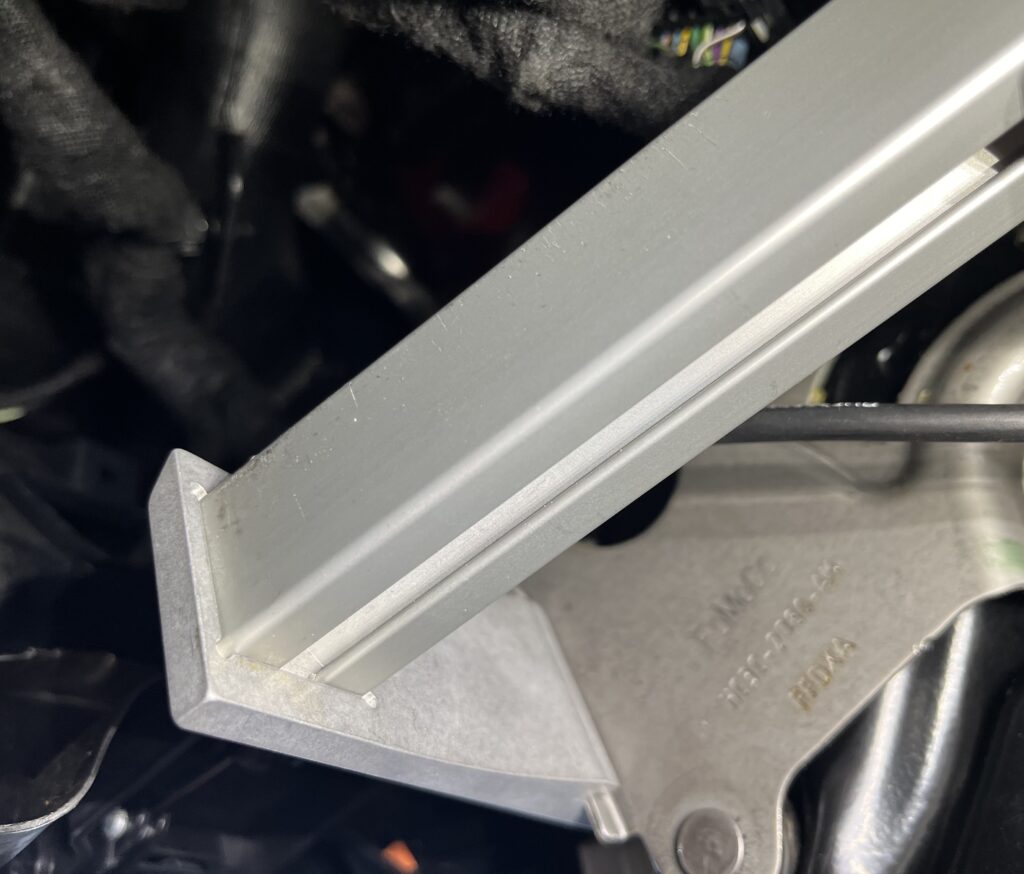
Step 3: Install the supplied adapter mount by reinstalling the factory bolt. Tip: put a small piece of paper towel in the end of the 10mm socket to make reinstalling the factory bolt easier. Make sure the ‘hook’ portion of the adapter mount is fully wrapped around the protruding flange of the factory parking brake assembly (see photo, below).
Step 3 (continued): Photo showing the ‘hook’ fully wrapped around the previously mentioned flange.
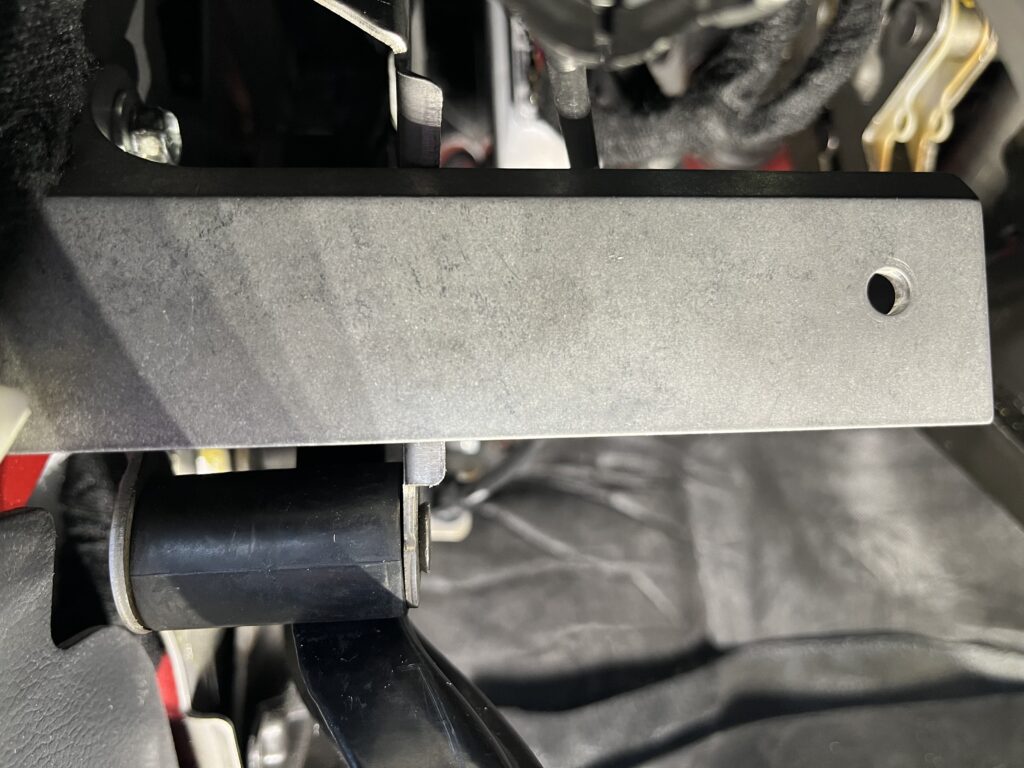
Step 4: Fasten the supplied support structure to the previously installed adapter mount with the included M6x20mm button head, silver-colored screw using a 4mm hex key. Make sure the structure is fully seated within the square pocket of the adapter mount before fully tightening (see photo, below).
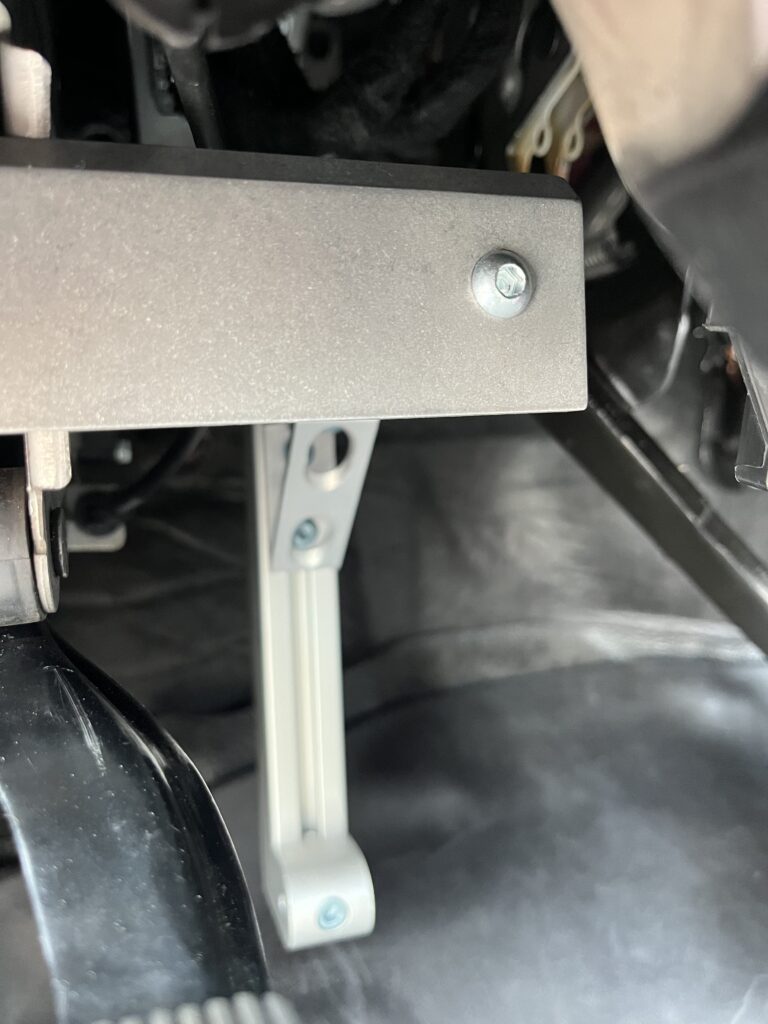
Step 4 (continued): Photo showing the support structure fully seated within the square pocket of the adapter mount.
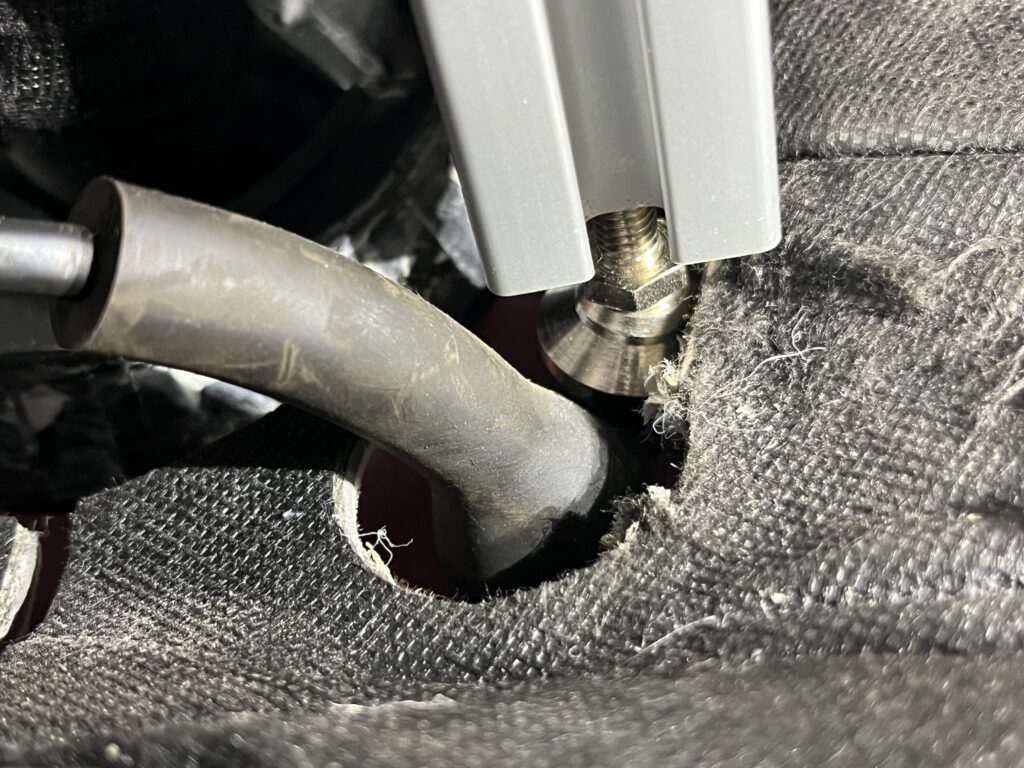
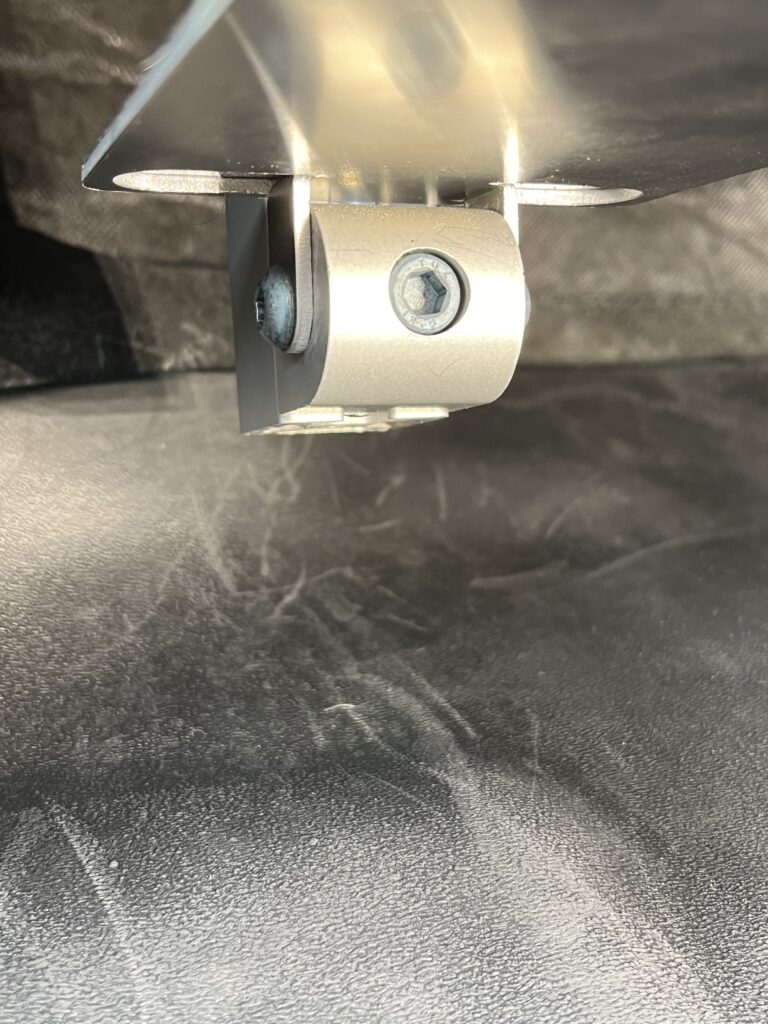
Step 5: Using a 10mm open-end wrench on the hex portion of the rubber foot (see photo, below), turn the wrench clockwise to extend the foot towards the firewall, creating preload. There’s no need to go crazy tight; just snug and a bit more is all that’s needed to keep the support structure firm.

Step 5 (continued): Photo showing the hex portion of the rubber foot.
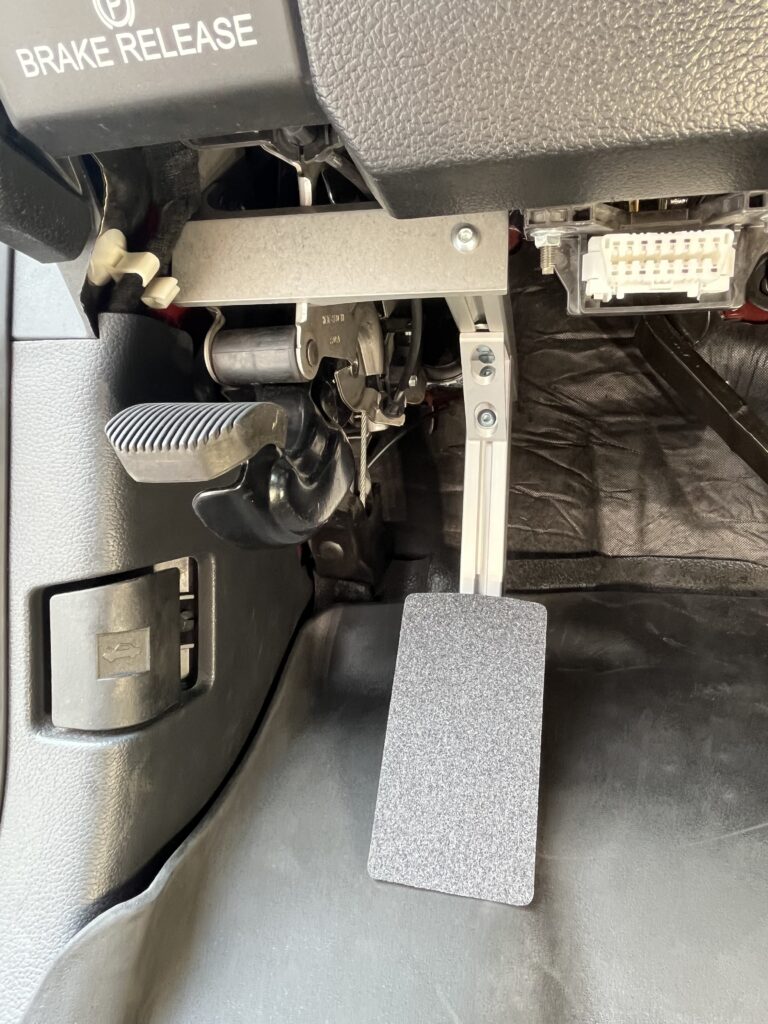
Step 6: Install the footrest/pedal onto the rounded part attached to the vertical structure using the two included M6x10mm button head, blue-colored screws using a 4mm hex key.
Install completed! Yours should look similar to this photo. If you would like to make adjustments, please see the two sections below covering the angle and fore/aft adjustment procedures.
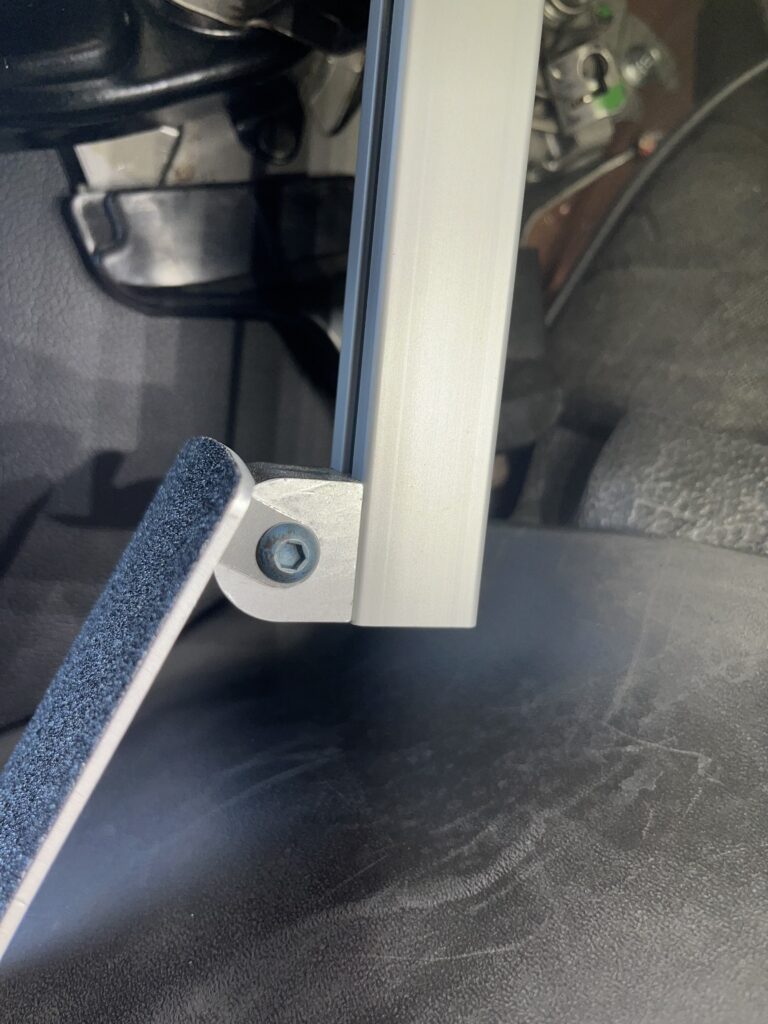
Adjusting the angle. Use a 4mm hex key to loosen the two button head screws to flip the pedal out of the way, and then use a 5mm hex key to loosen the center socket head cap screw. Slide this part up or down to your preference, and then re-tighten everything in reverse order. You may also need to adjust the fore/aft position of your pedal when making this adjustment (see procedure, below).
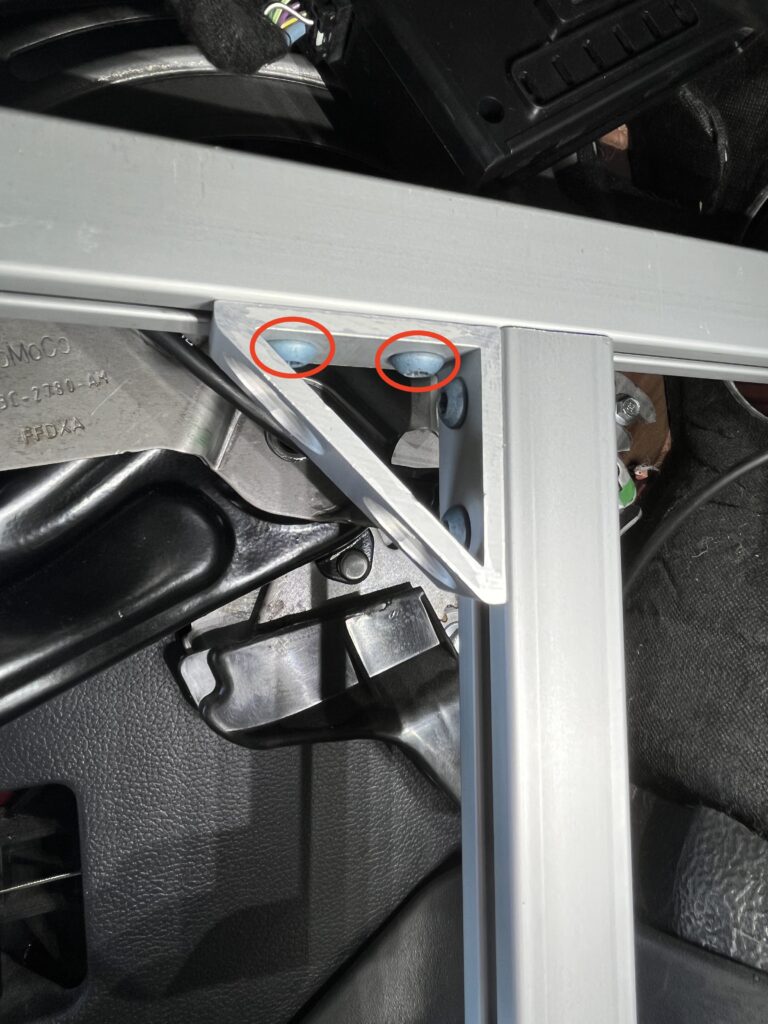
Adjusting the fore/aft position. Use a 4mm ball-end hex key to loosen the top two blue button head screws holding the angle bracket to the horizontal structure. Slide the entire vertical structure assembly fore or aft to your preference, and then re-tighten the two screws. You may also need to adjust the angle of your pedal when making this adjustment (see procedure, above).
This is a living document and may be improved over time. Last Updated: April 6th, 2025 – 11:07 AM CDT