
Disclaimer: You are responsible for making modifications to your truck. Subtle Design will not be held responsible if you damage your truck or any of its parts. Please take your time and enjoy the process.
Extra Keys and Lock Cylinders Info
If you’d like to purchase extra keys or lock cylinders for different projects, please Contact Us Here, and provide us with the code stamped on your key.
Installation
Estimated Time: Less than 10 minutes.
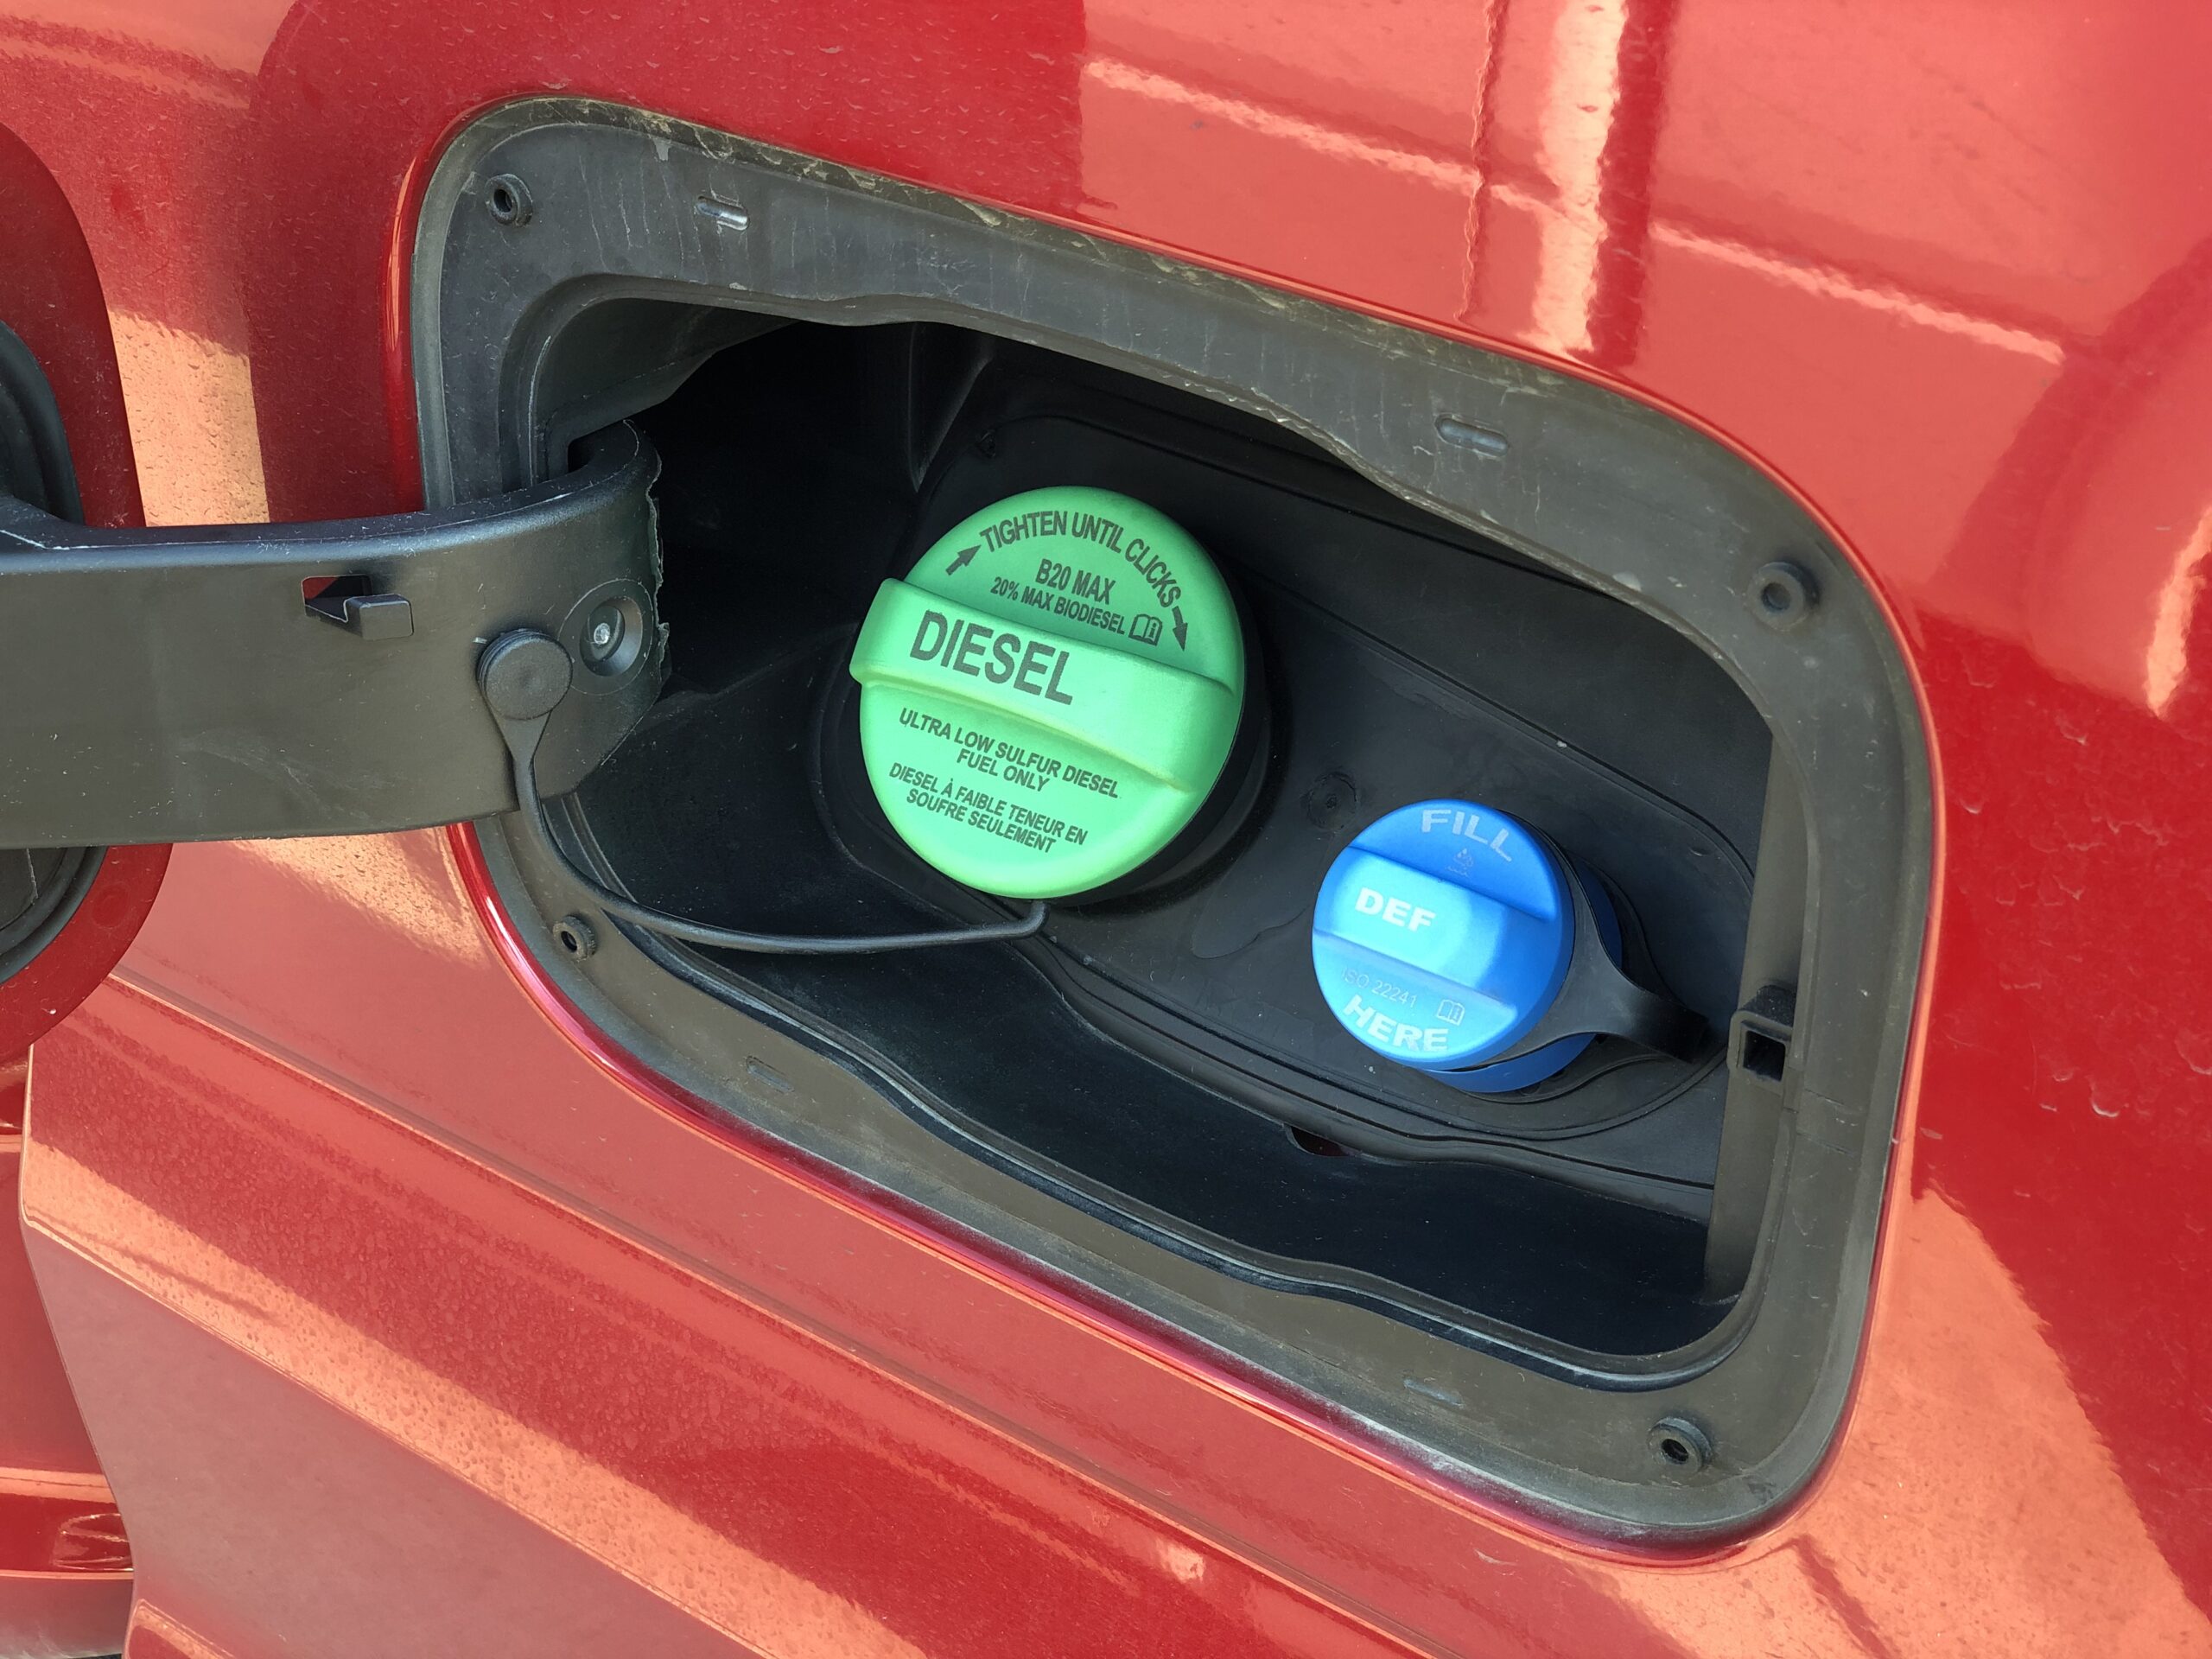
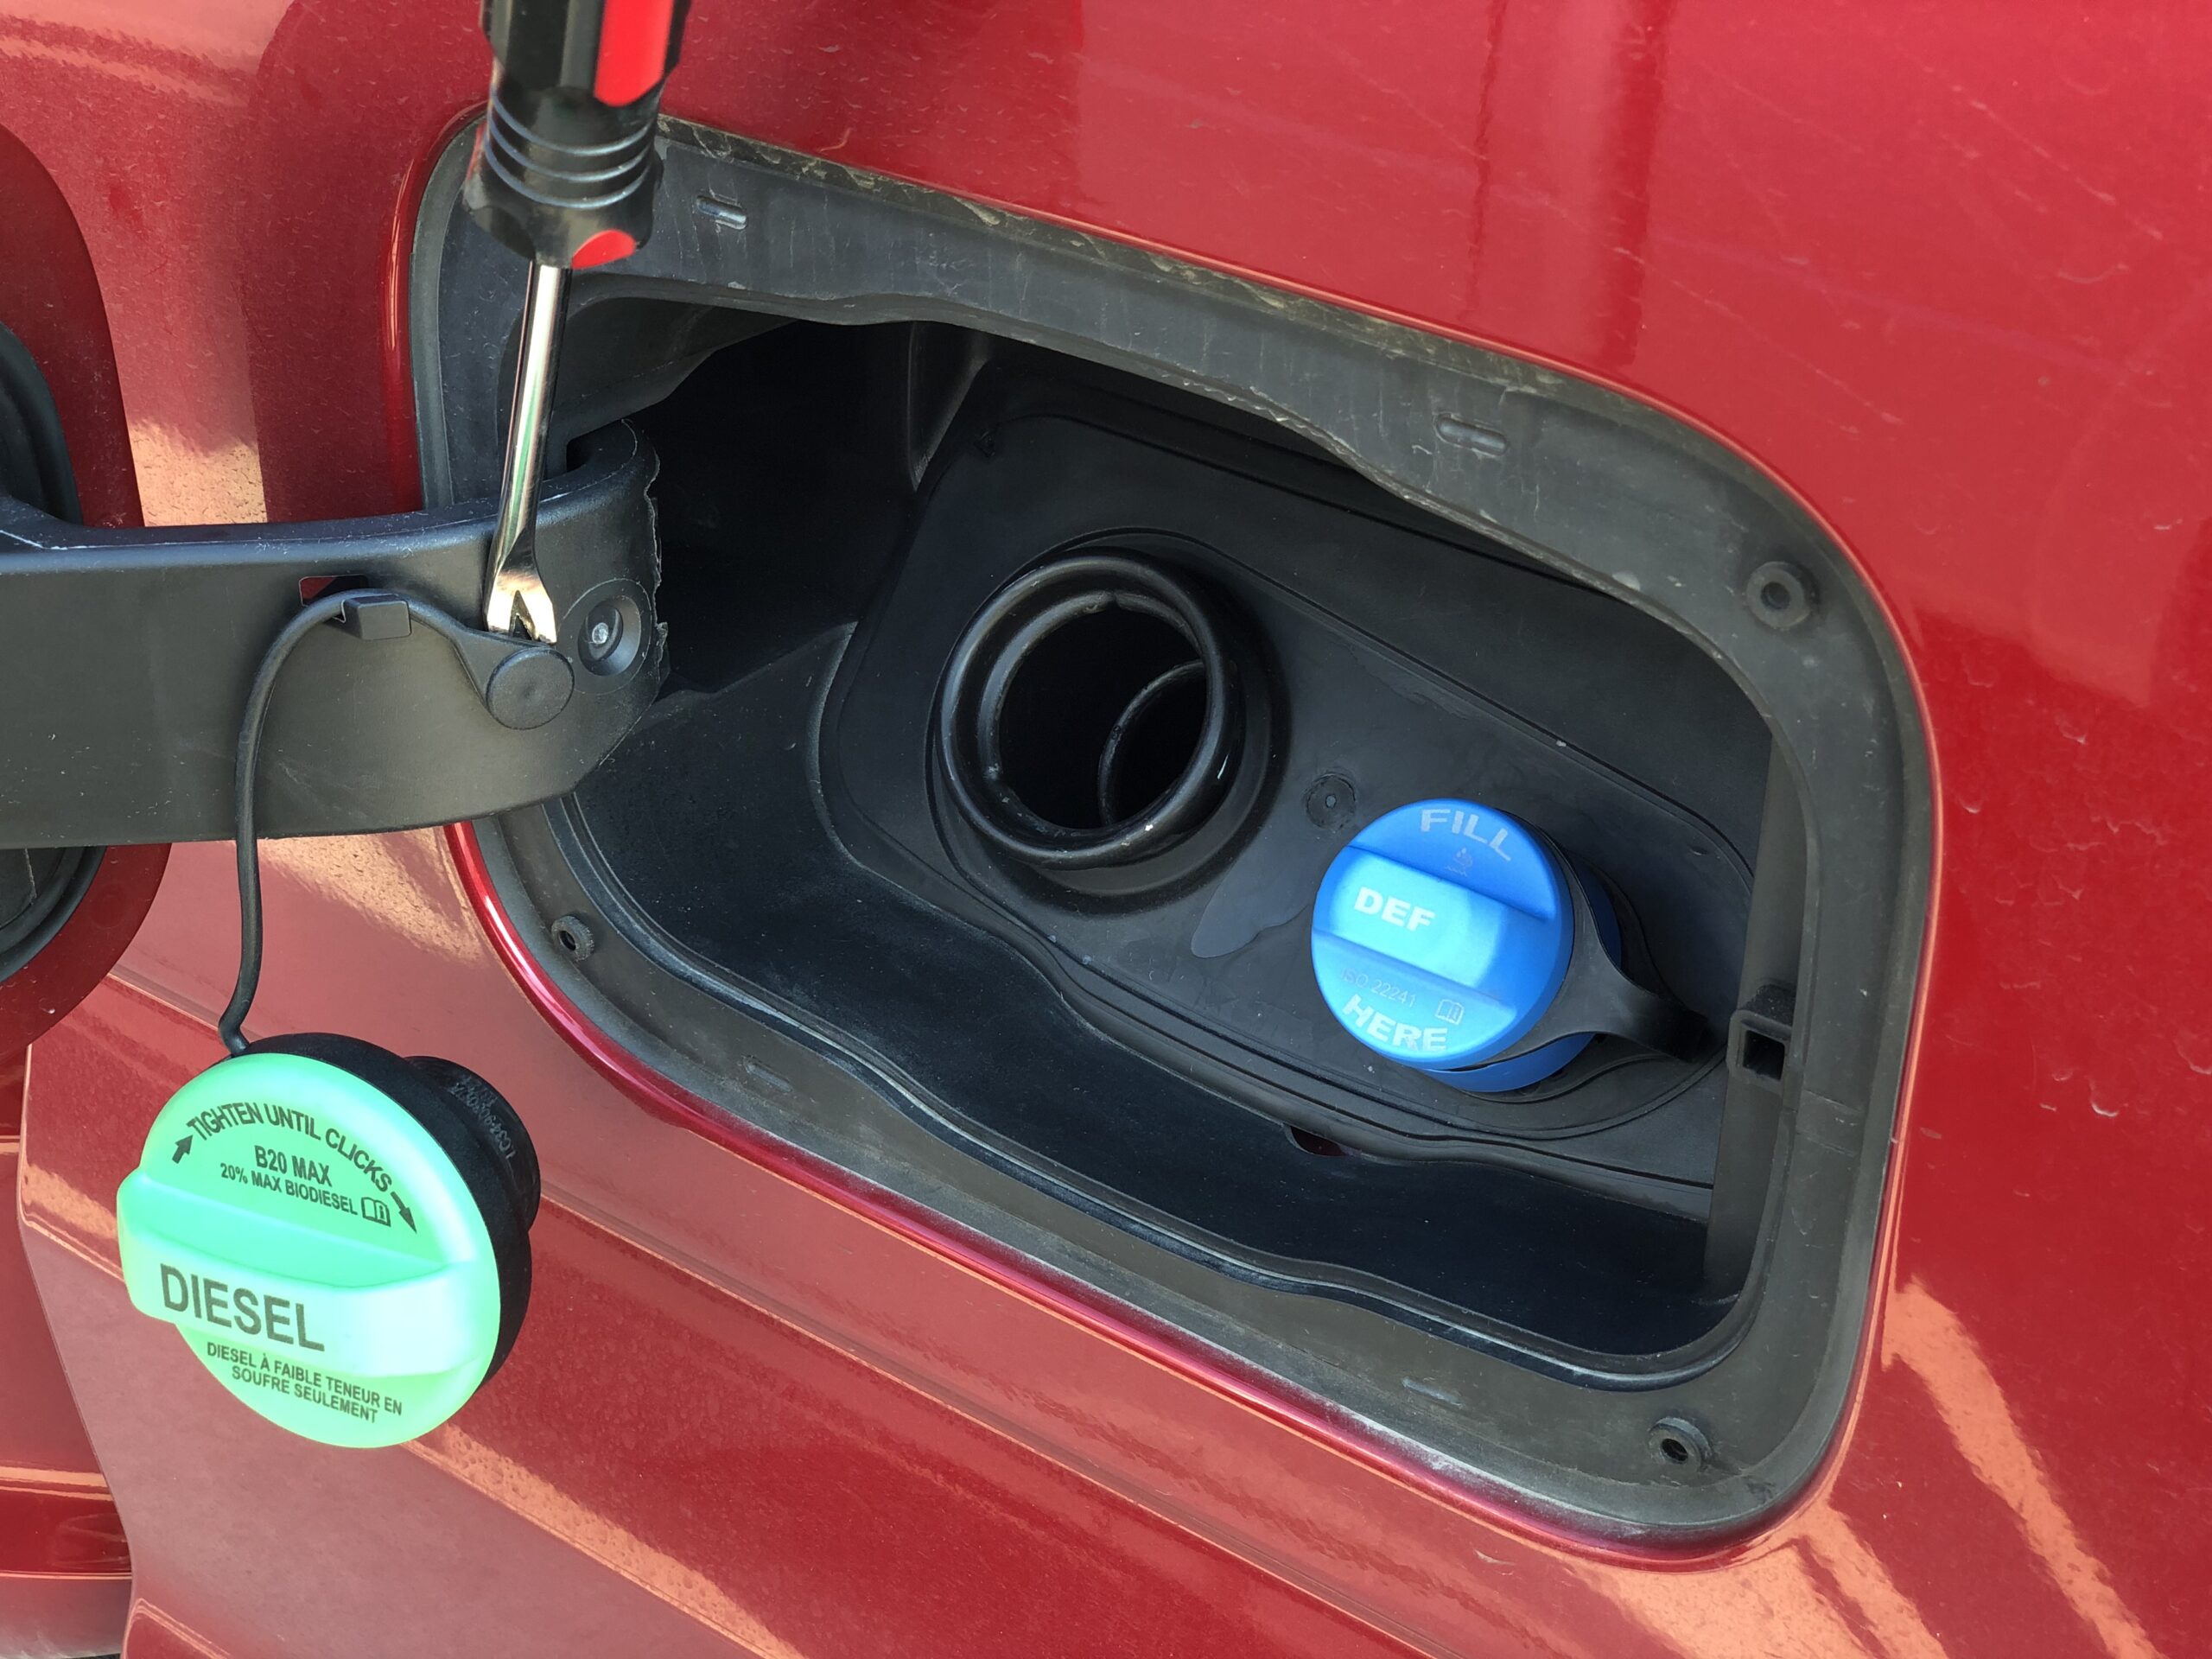
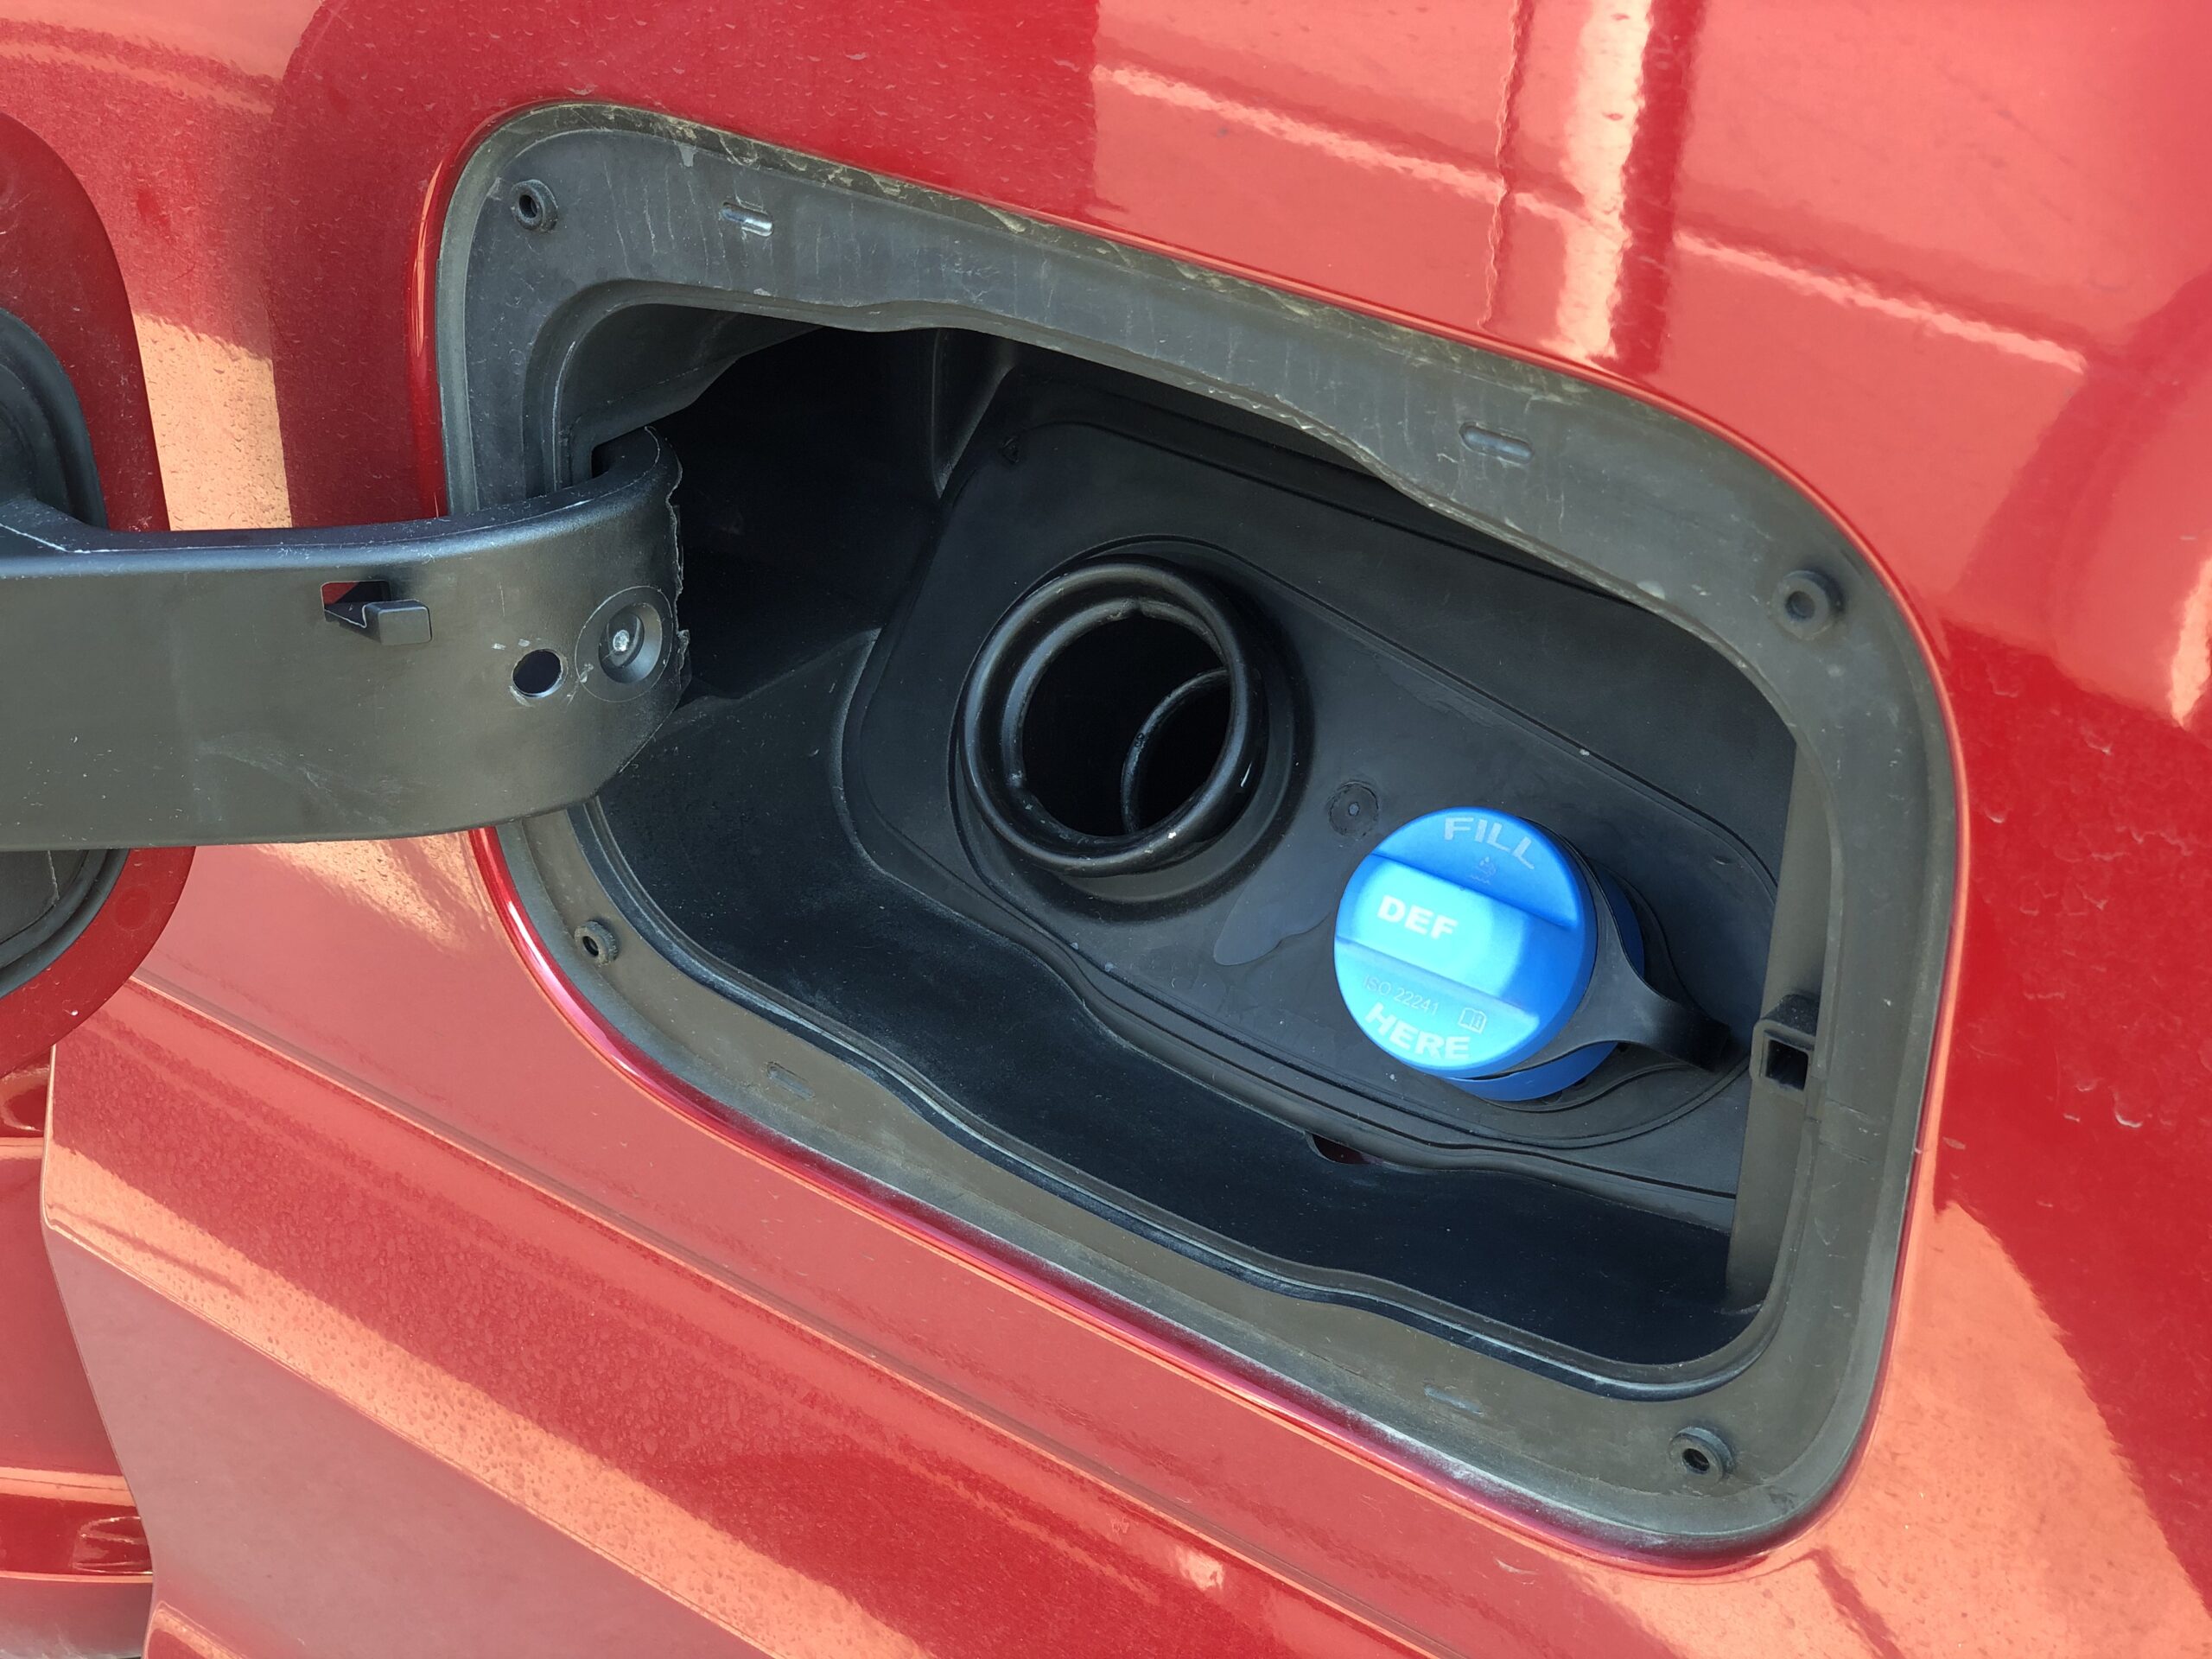
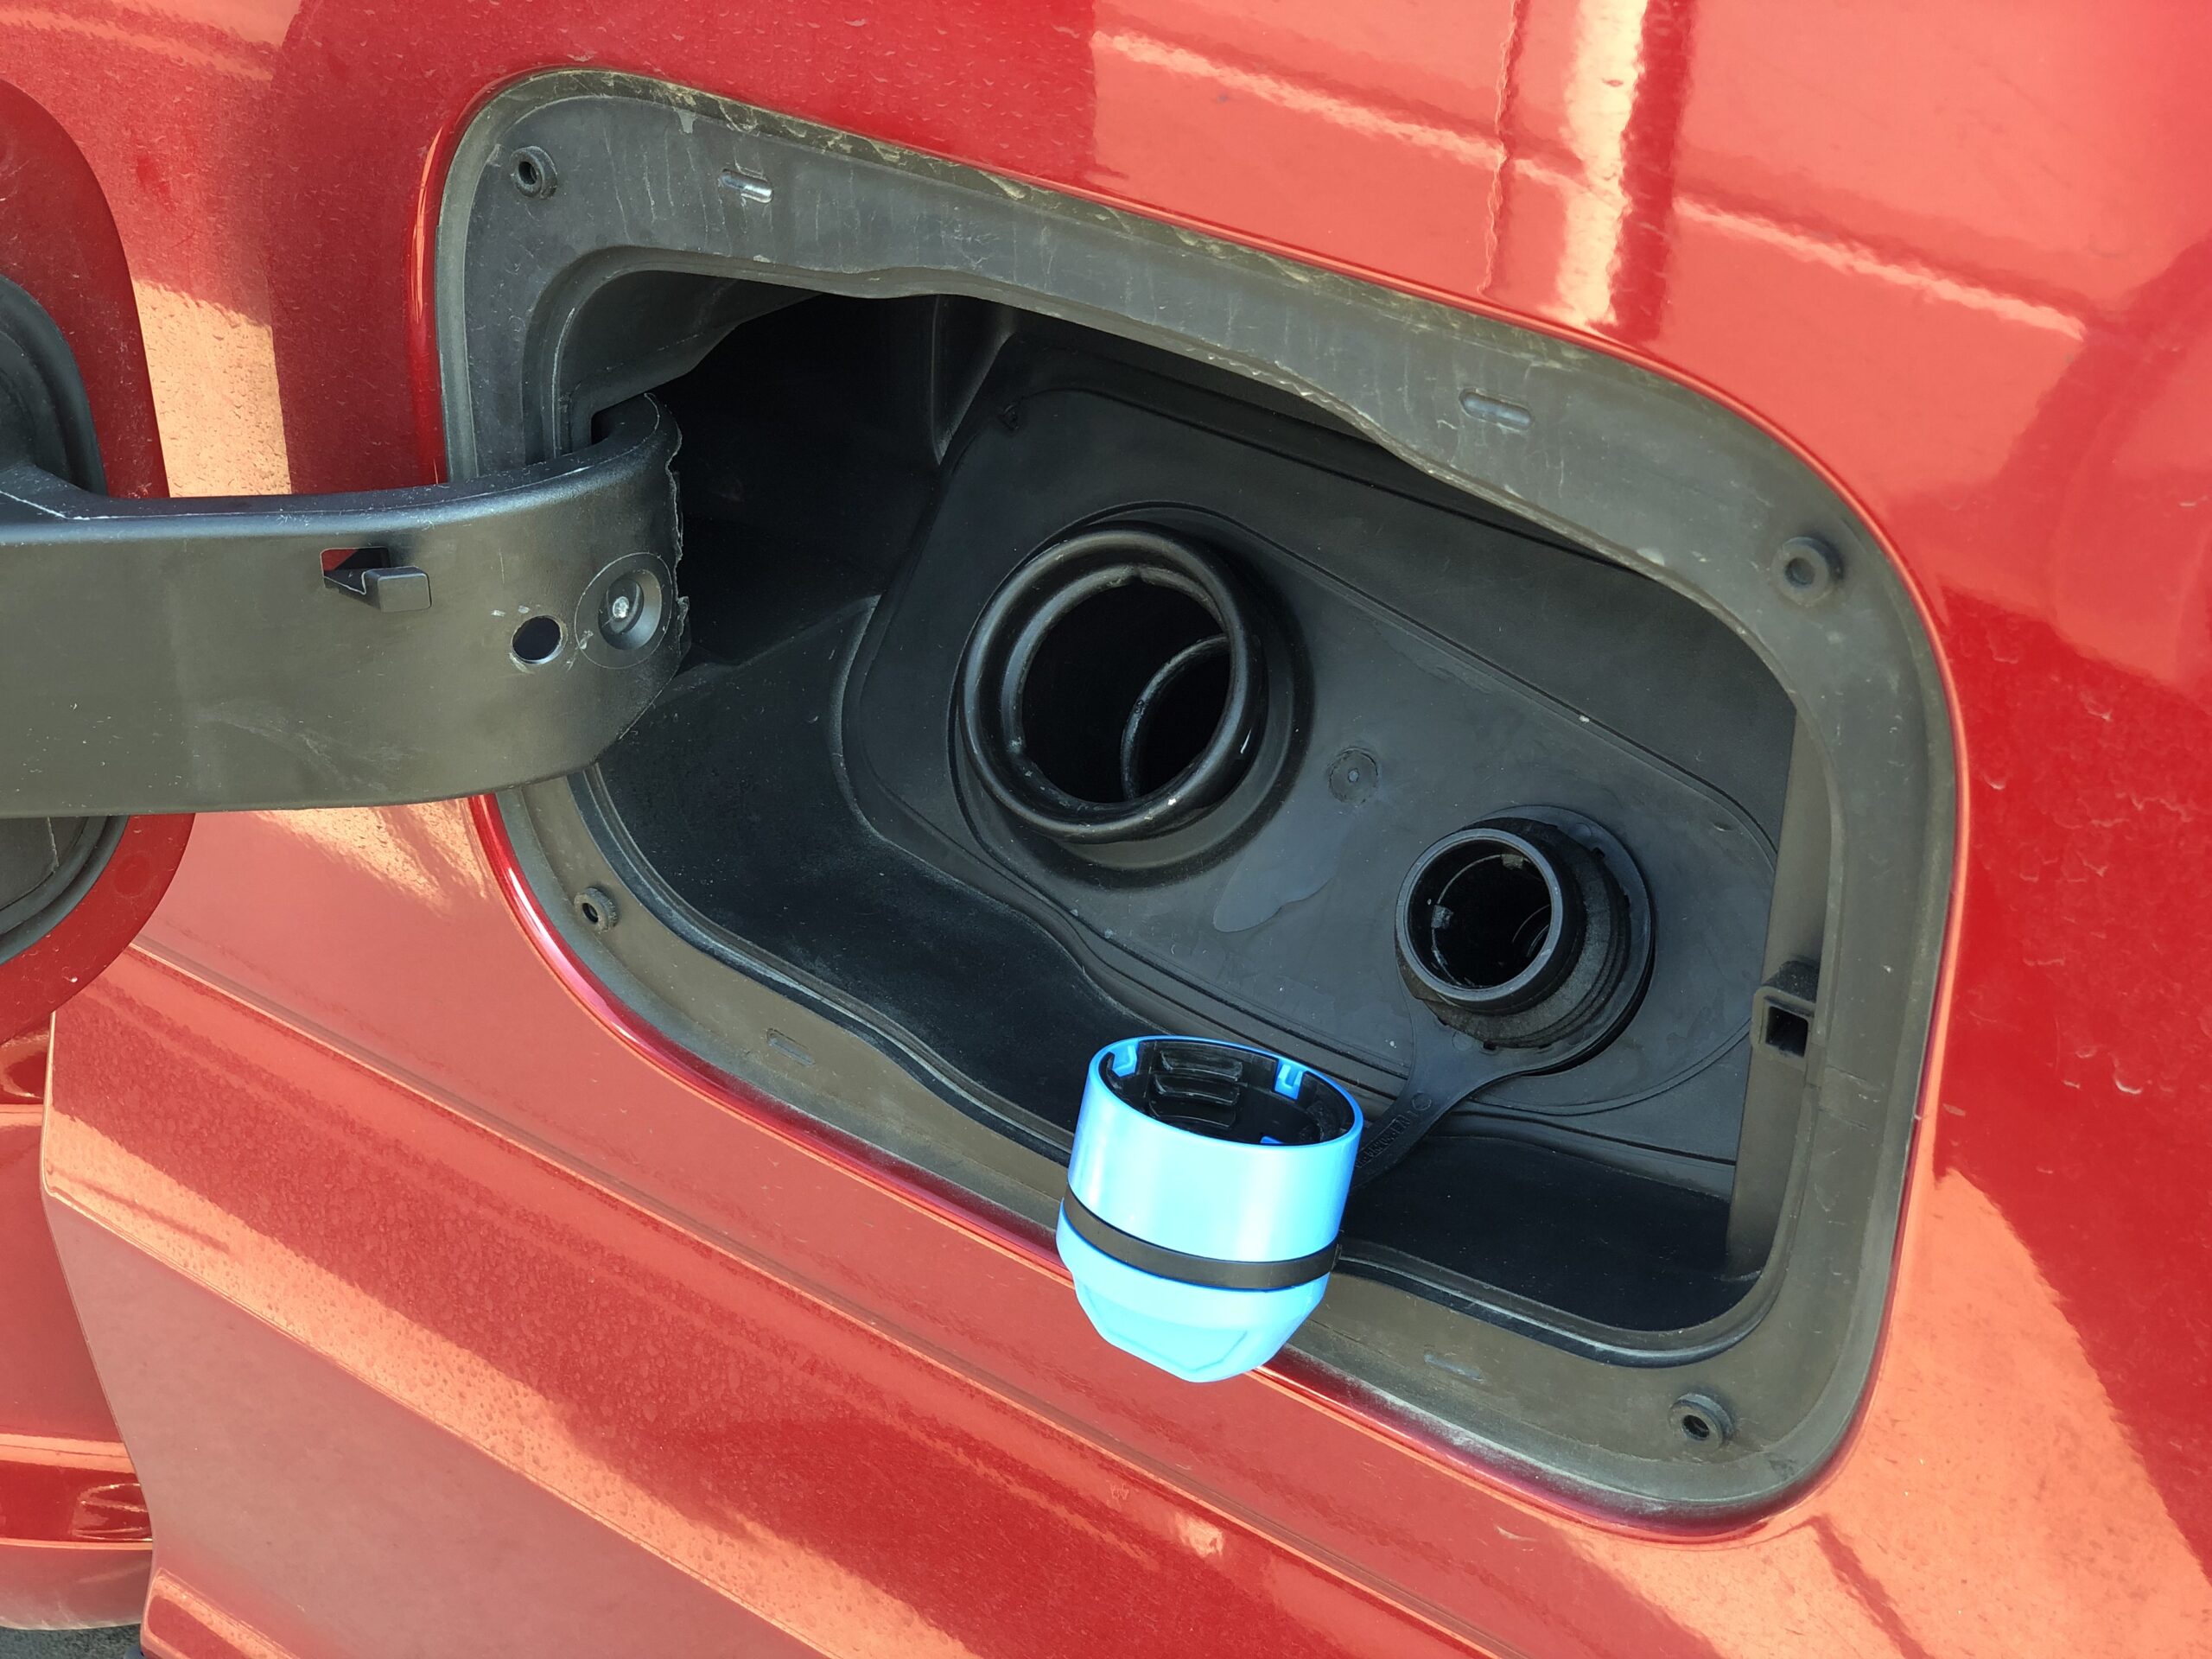
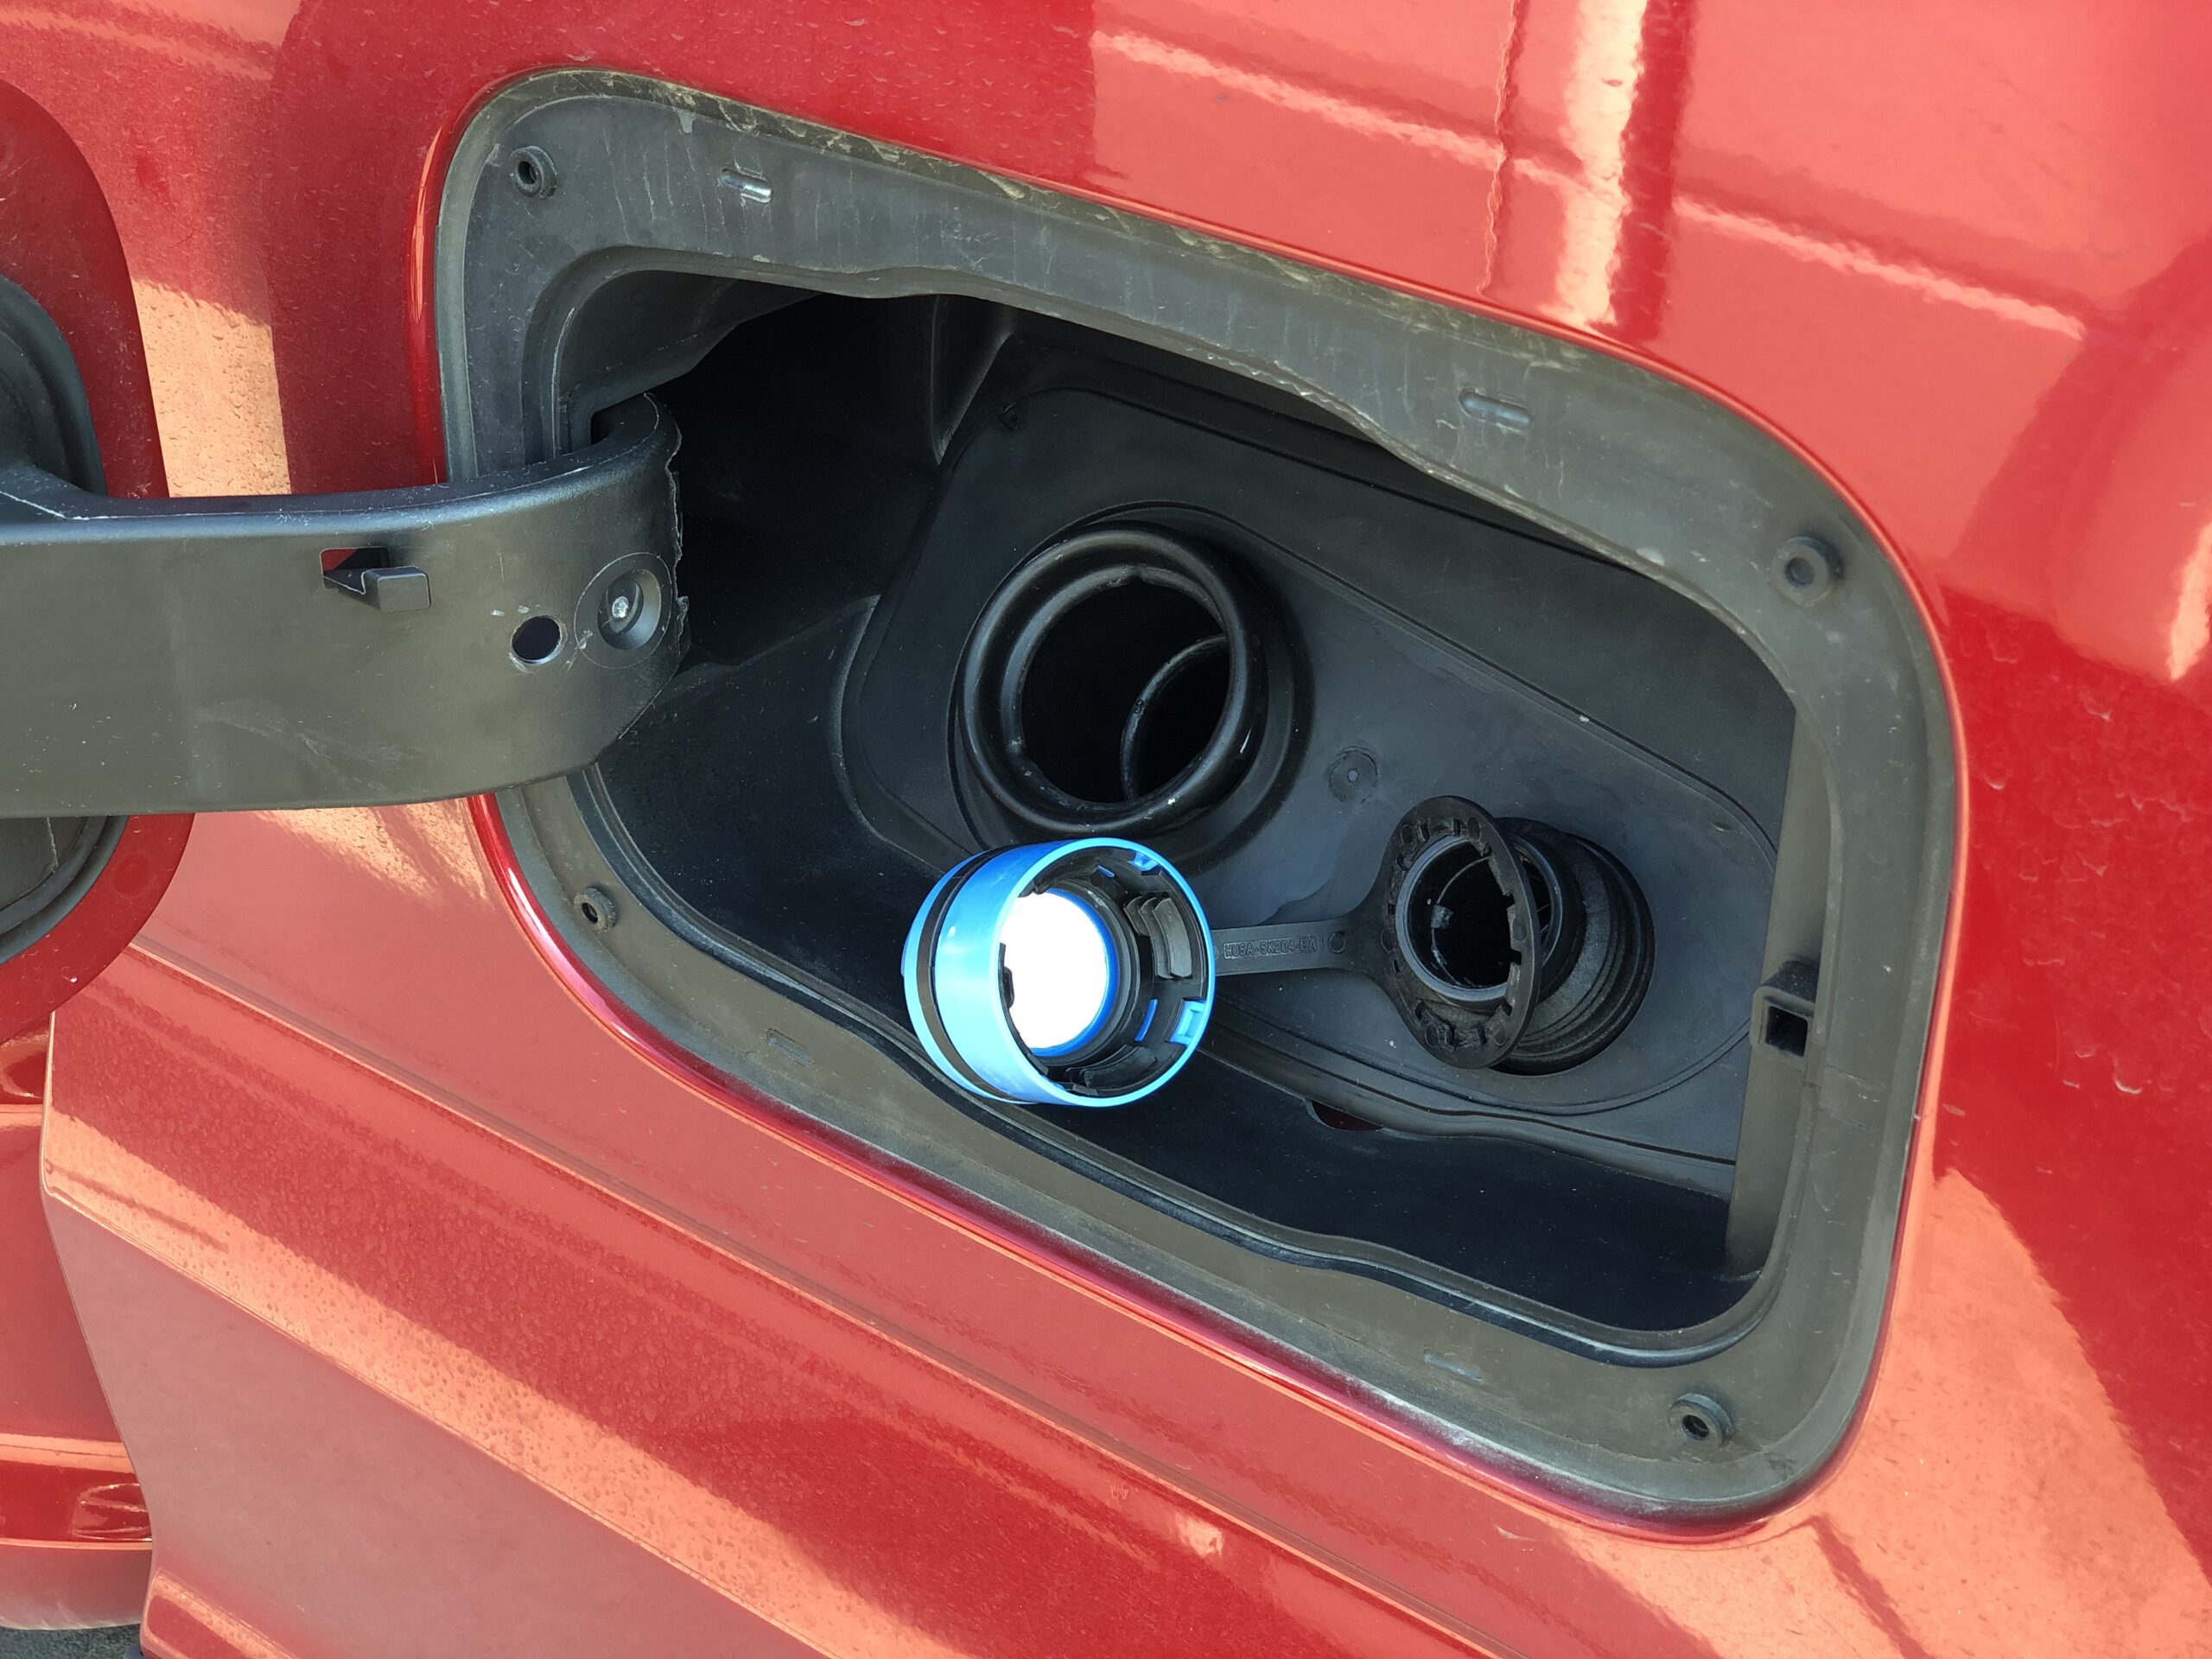
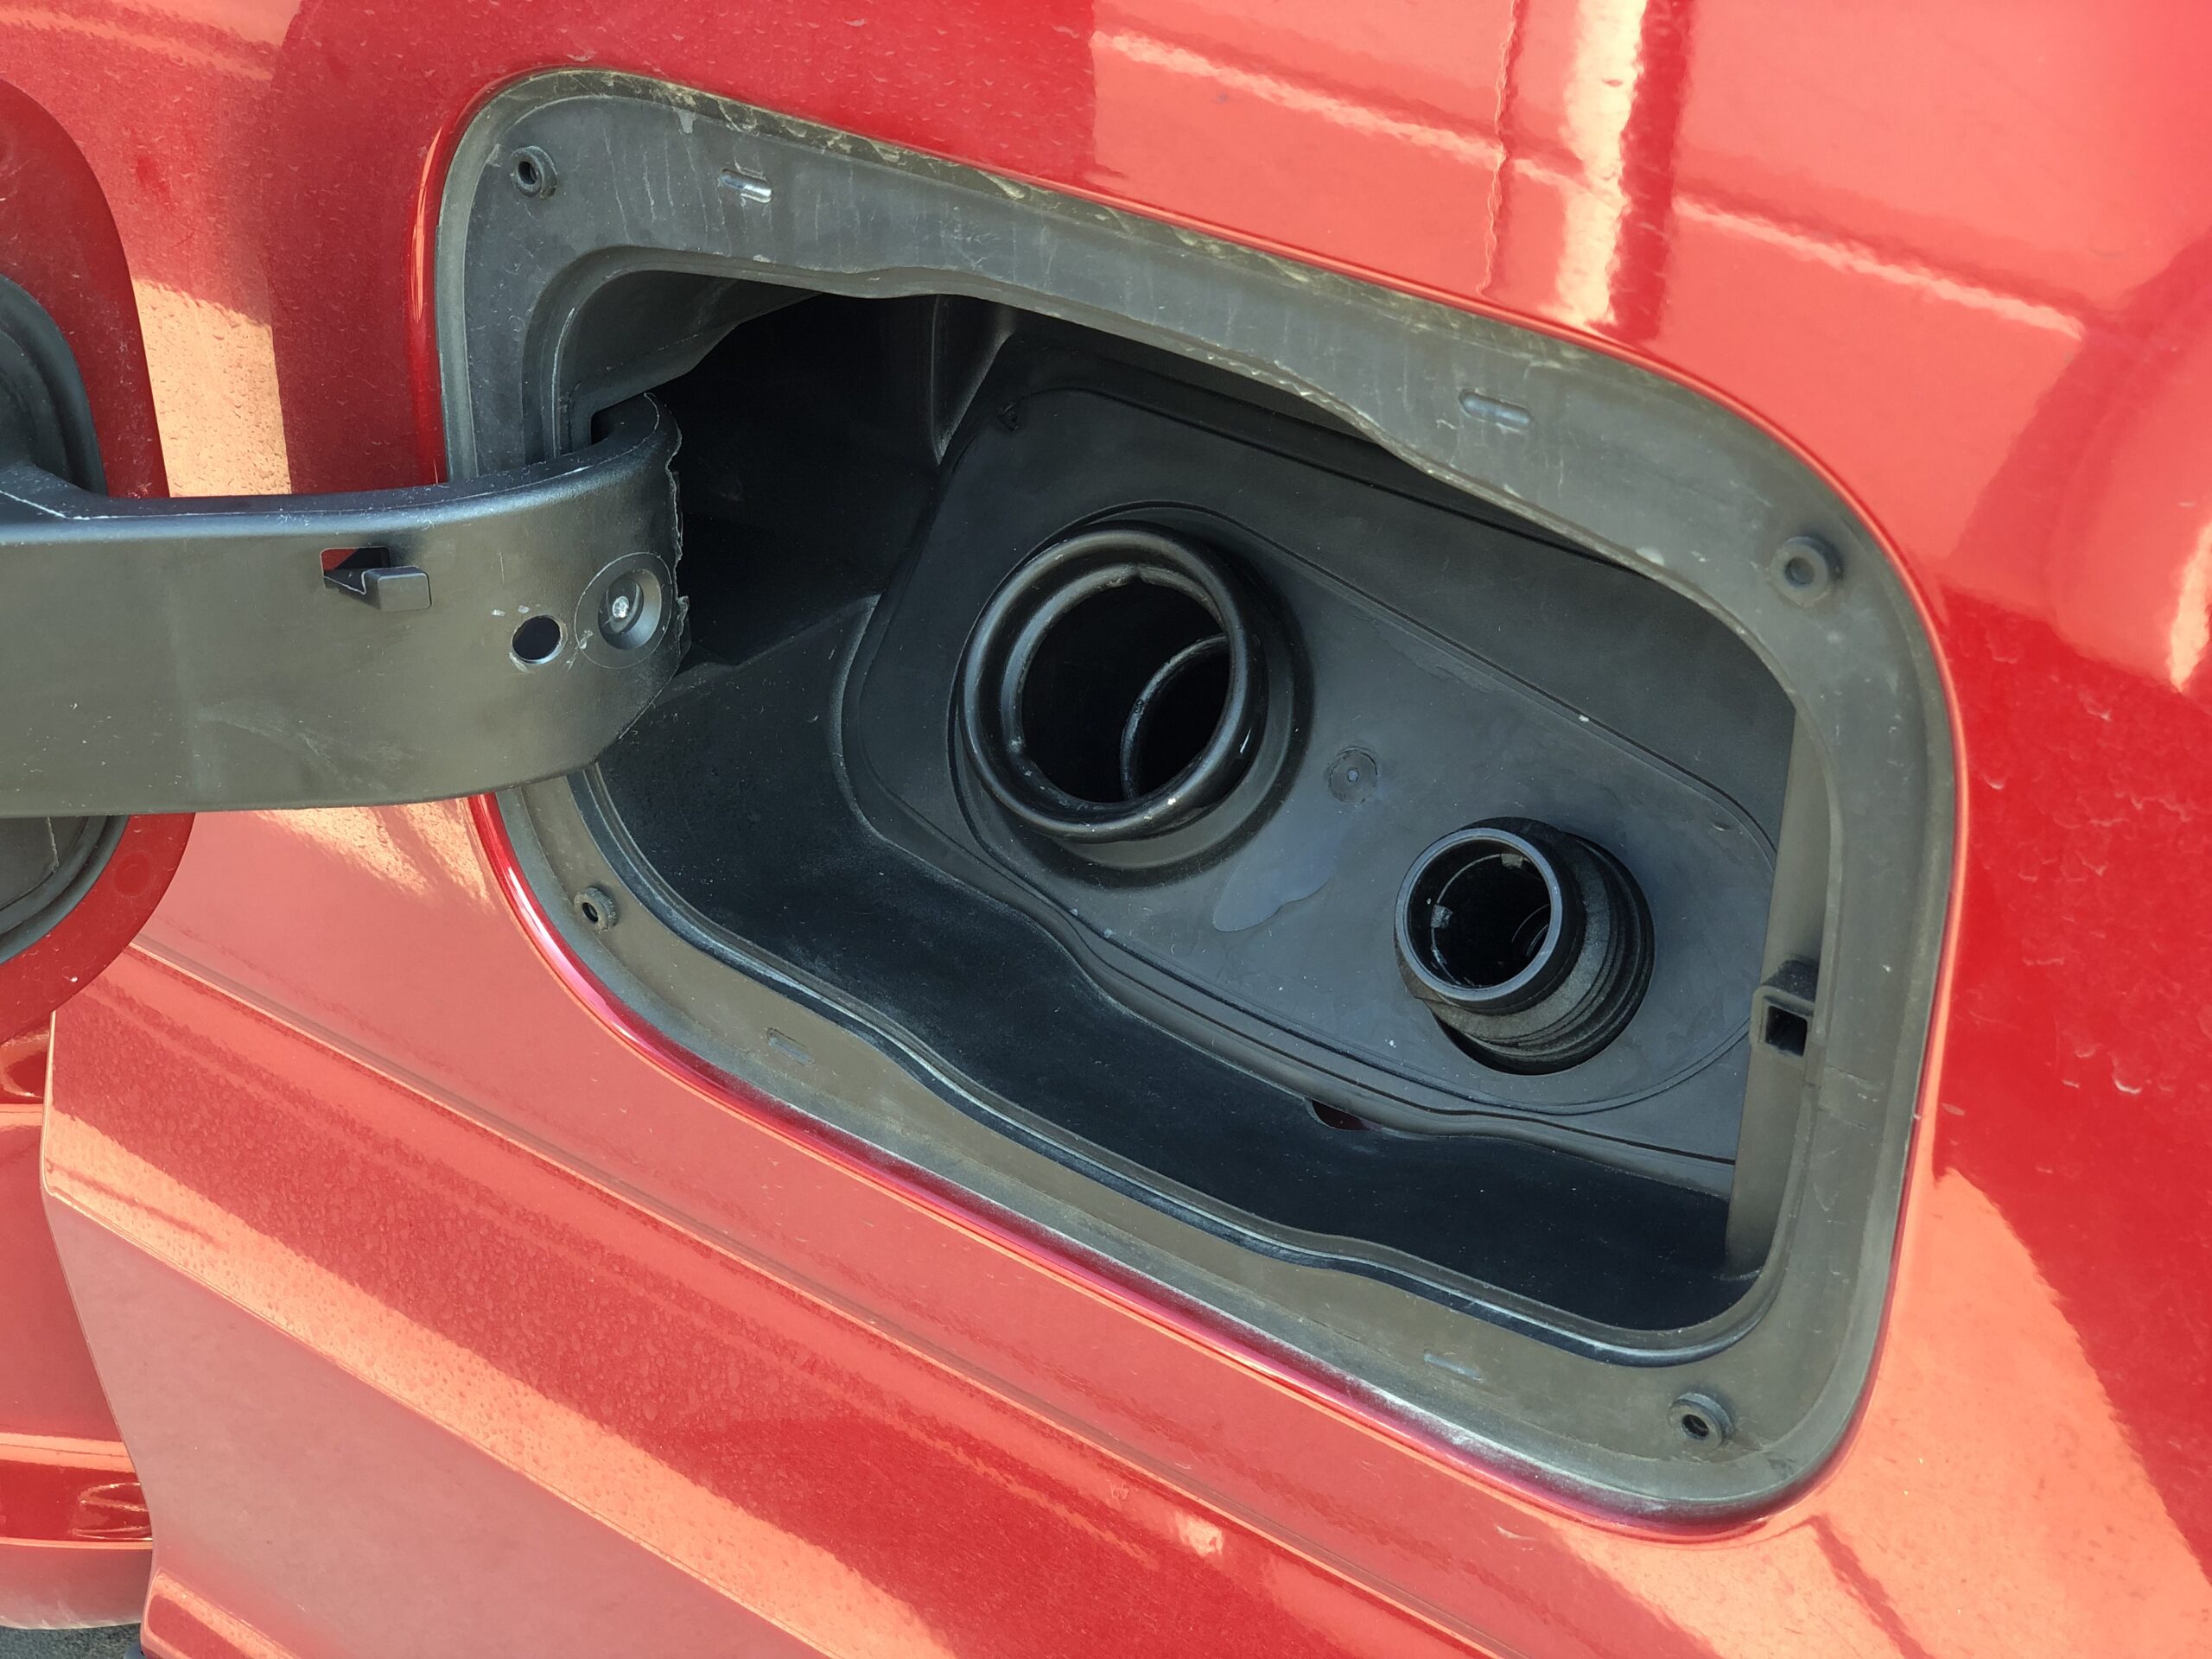
Step 1a: Unthread the OEM fuel cap and remove the tether from the fuel door hinge arm. We recommend keeping the OEM cap in the truck in the event of an emergency.

Step 1b: Unthread the OEM DEF cap and remove the tether from around the filler neck. We recommend keeping the OEM cap in the truck in the event of an emergency.

Step 1 Gallery
Step 2 Gallery (’11-16 Trucks Only)
Step 2 Gallery (’17-22 Trucks Only)

Step 2 Gallery (’23+ Trucks Only)
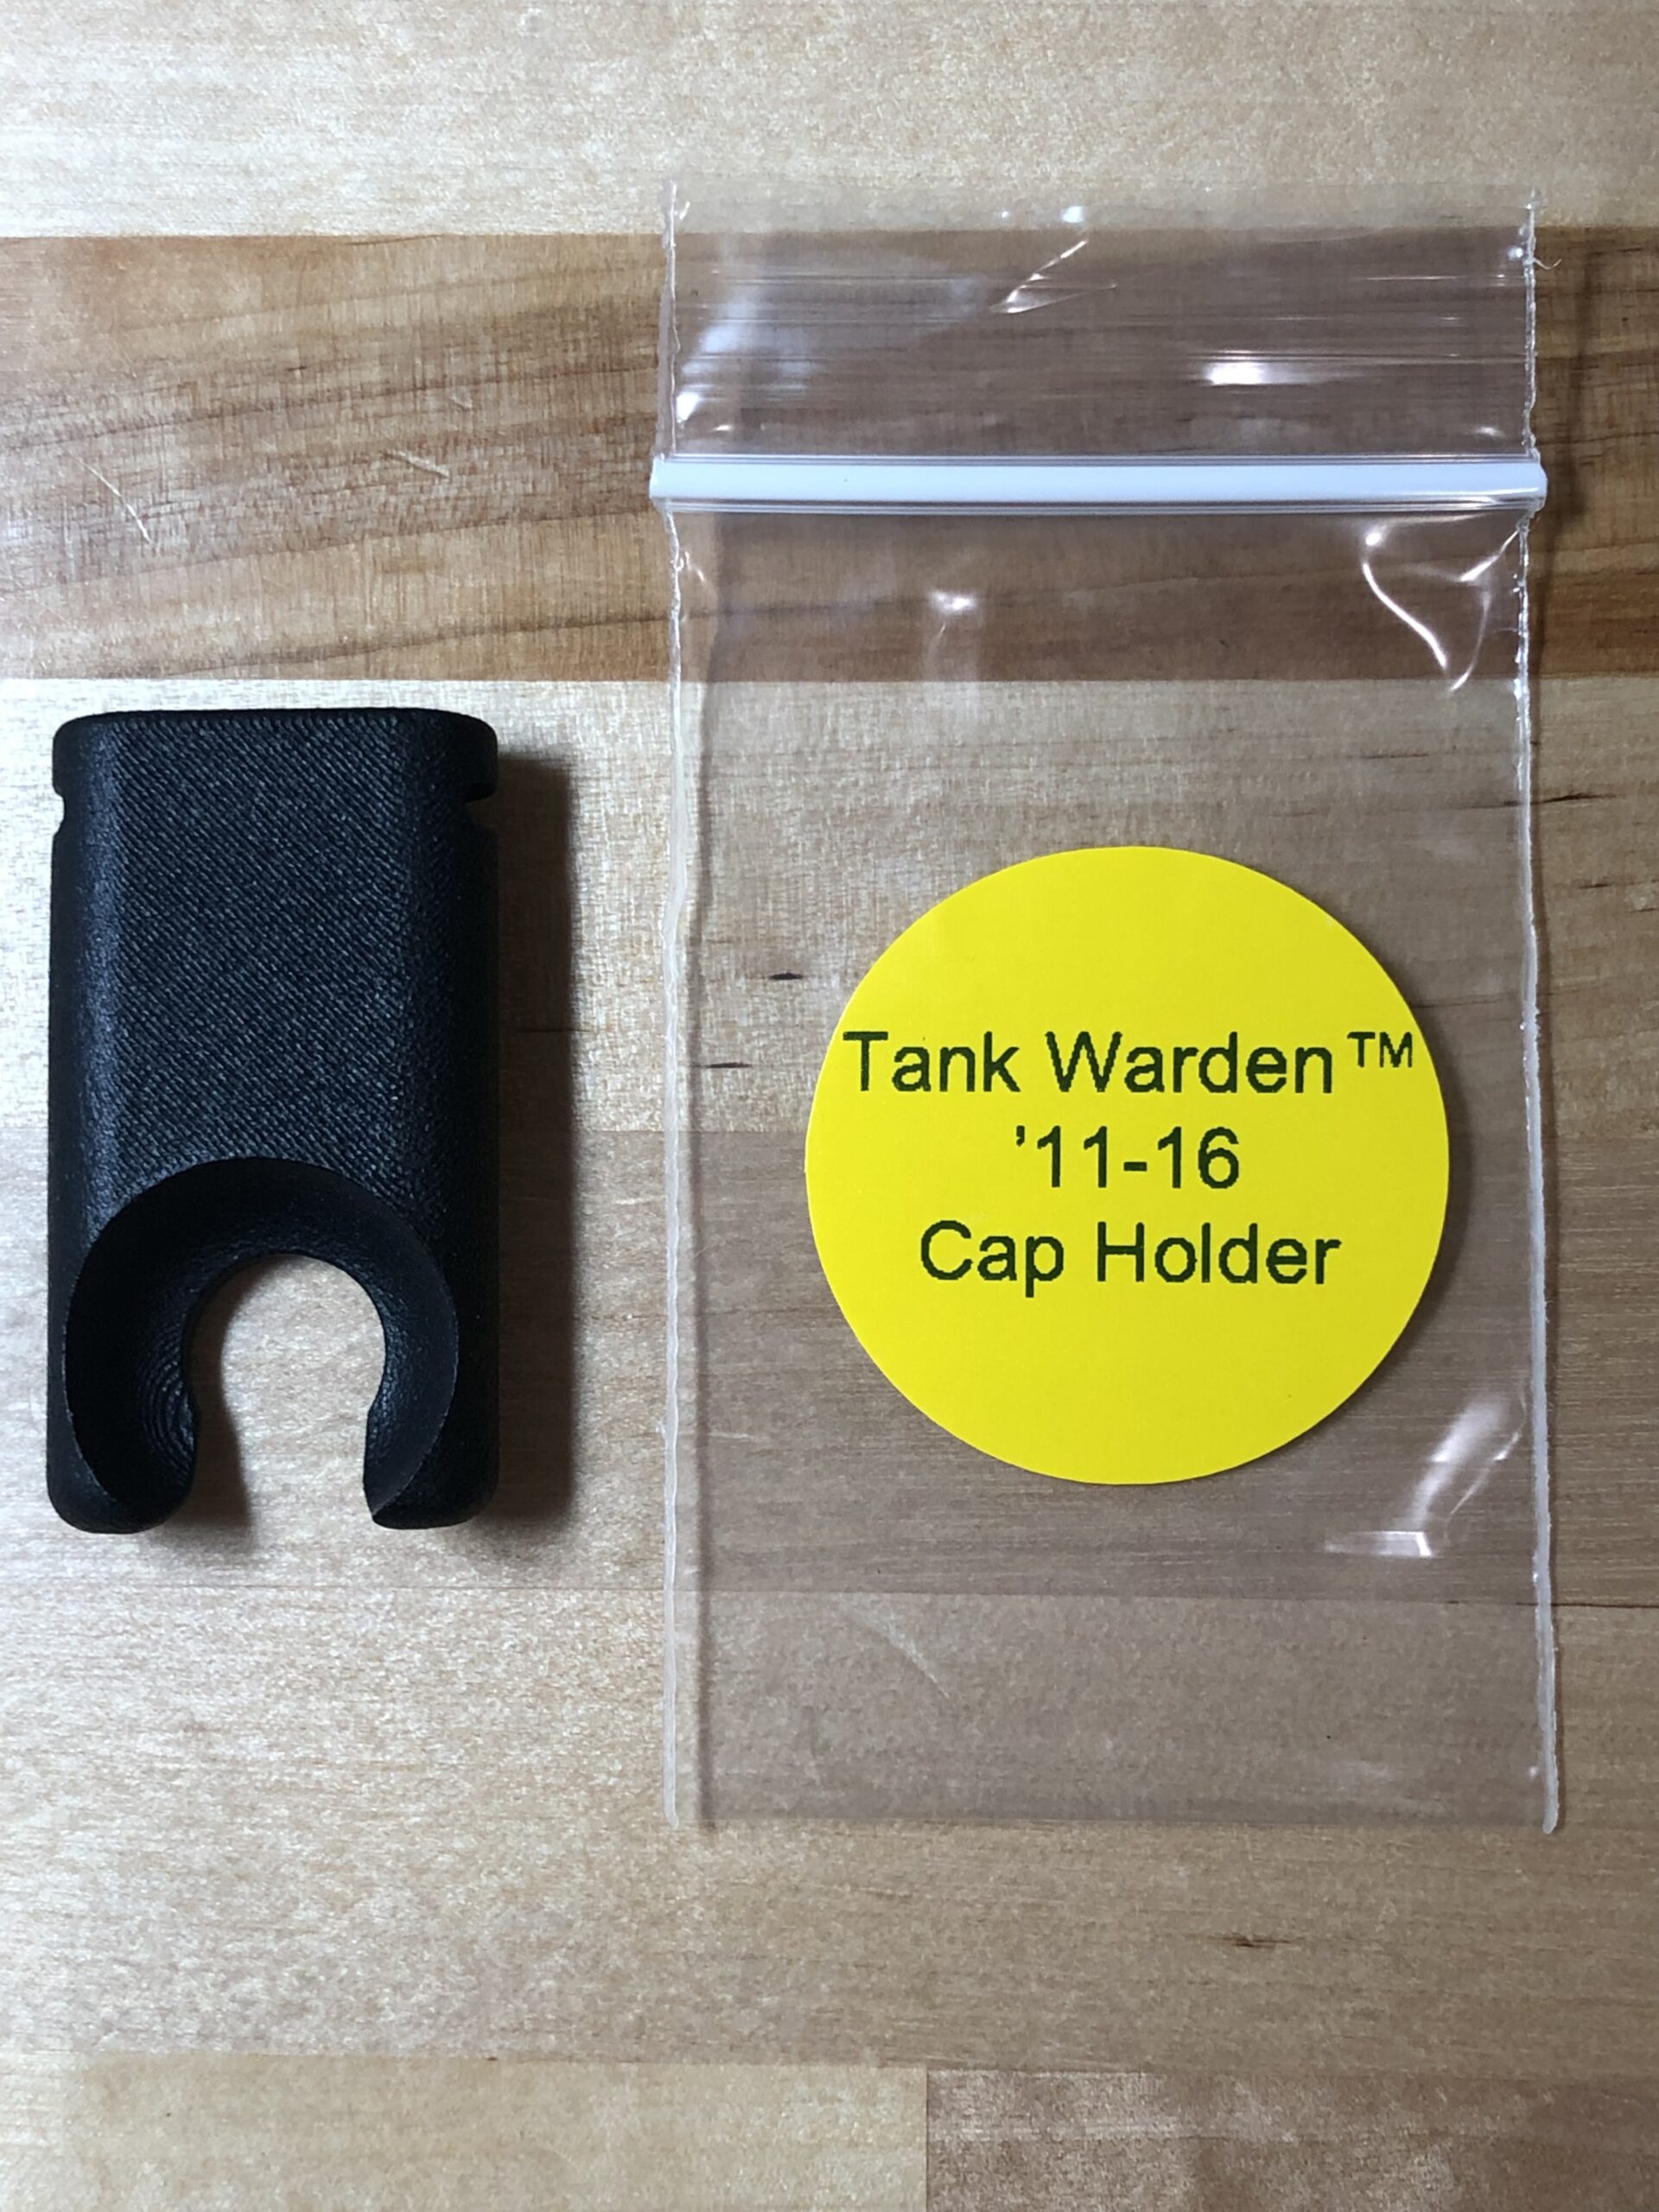
Step 2: ’11-16 Trucks Only: Install the provided cap holder onto your fuel door by sliding it down over the center of the raised edge/lip, as shown in the photo. It is a friction fit and no tools are necessary. If you think the fit is too loose, you may reinstall it with a drop of super glue.

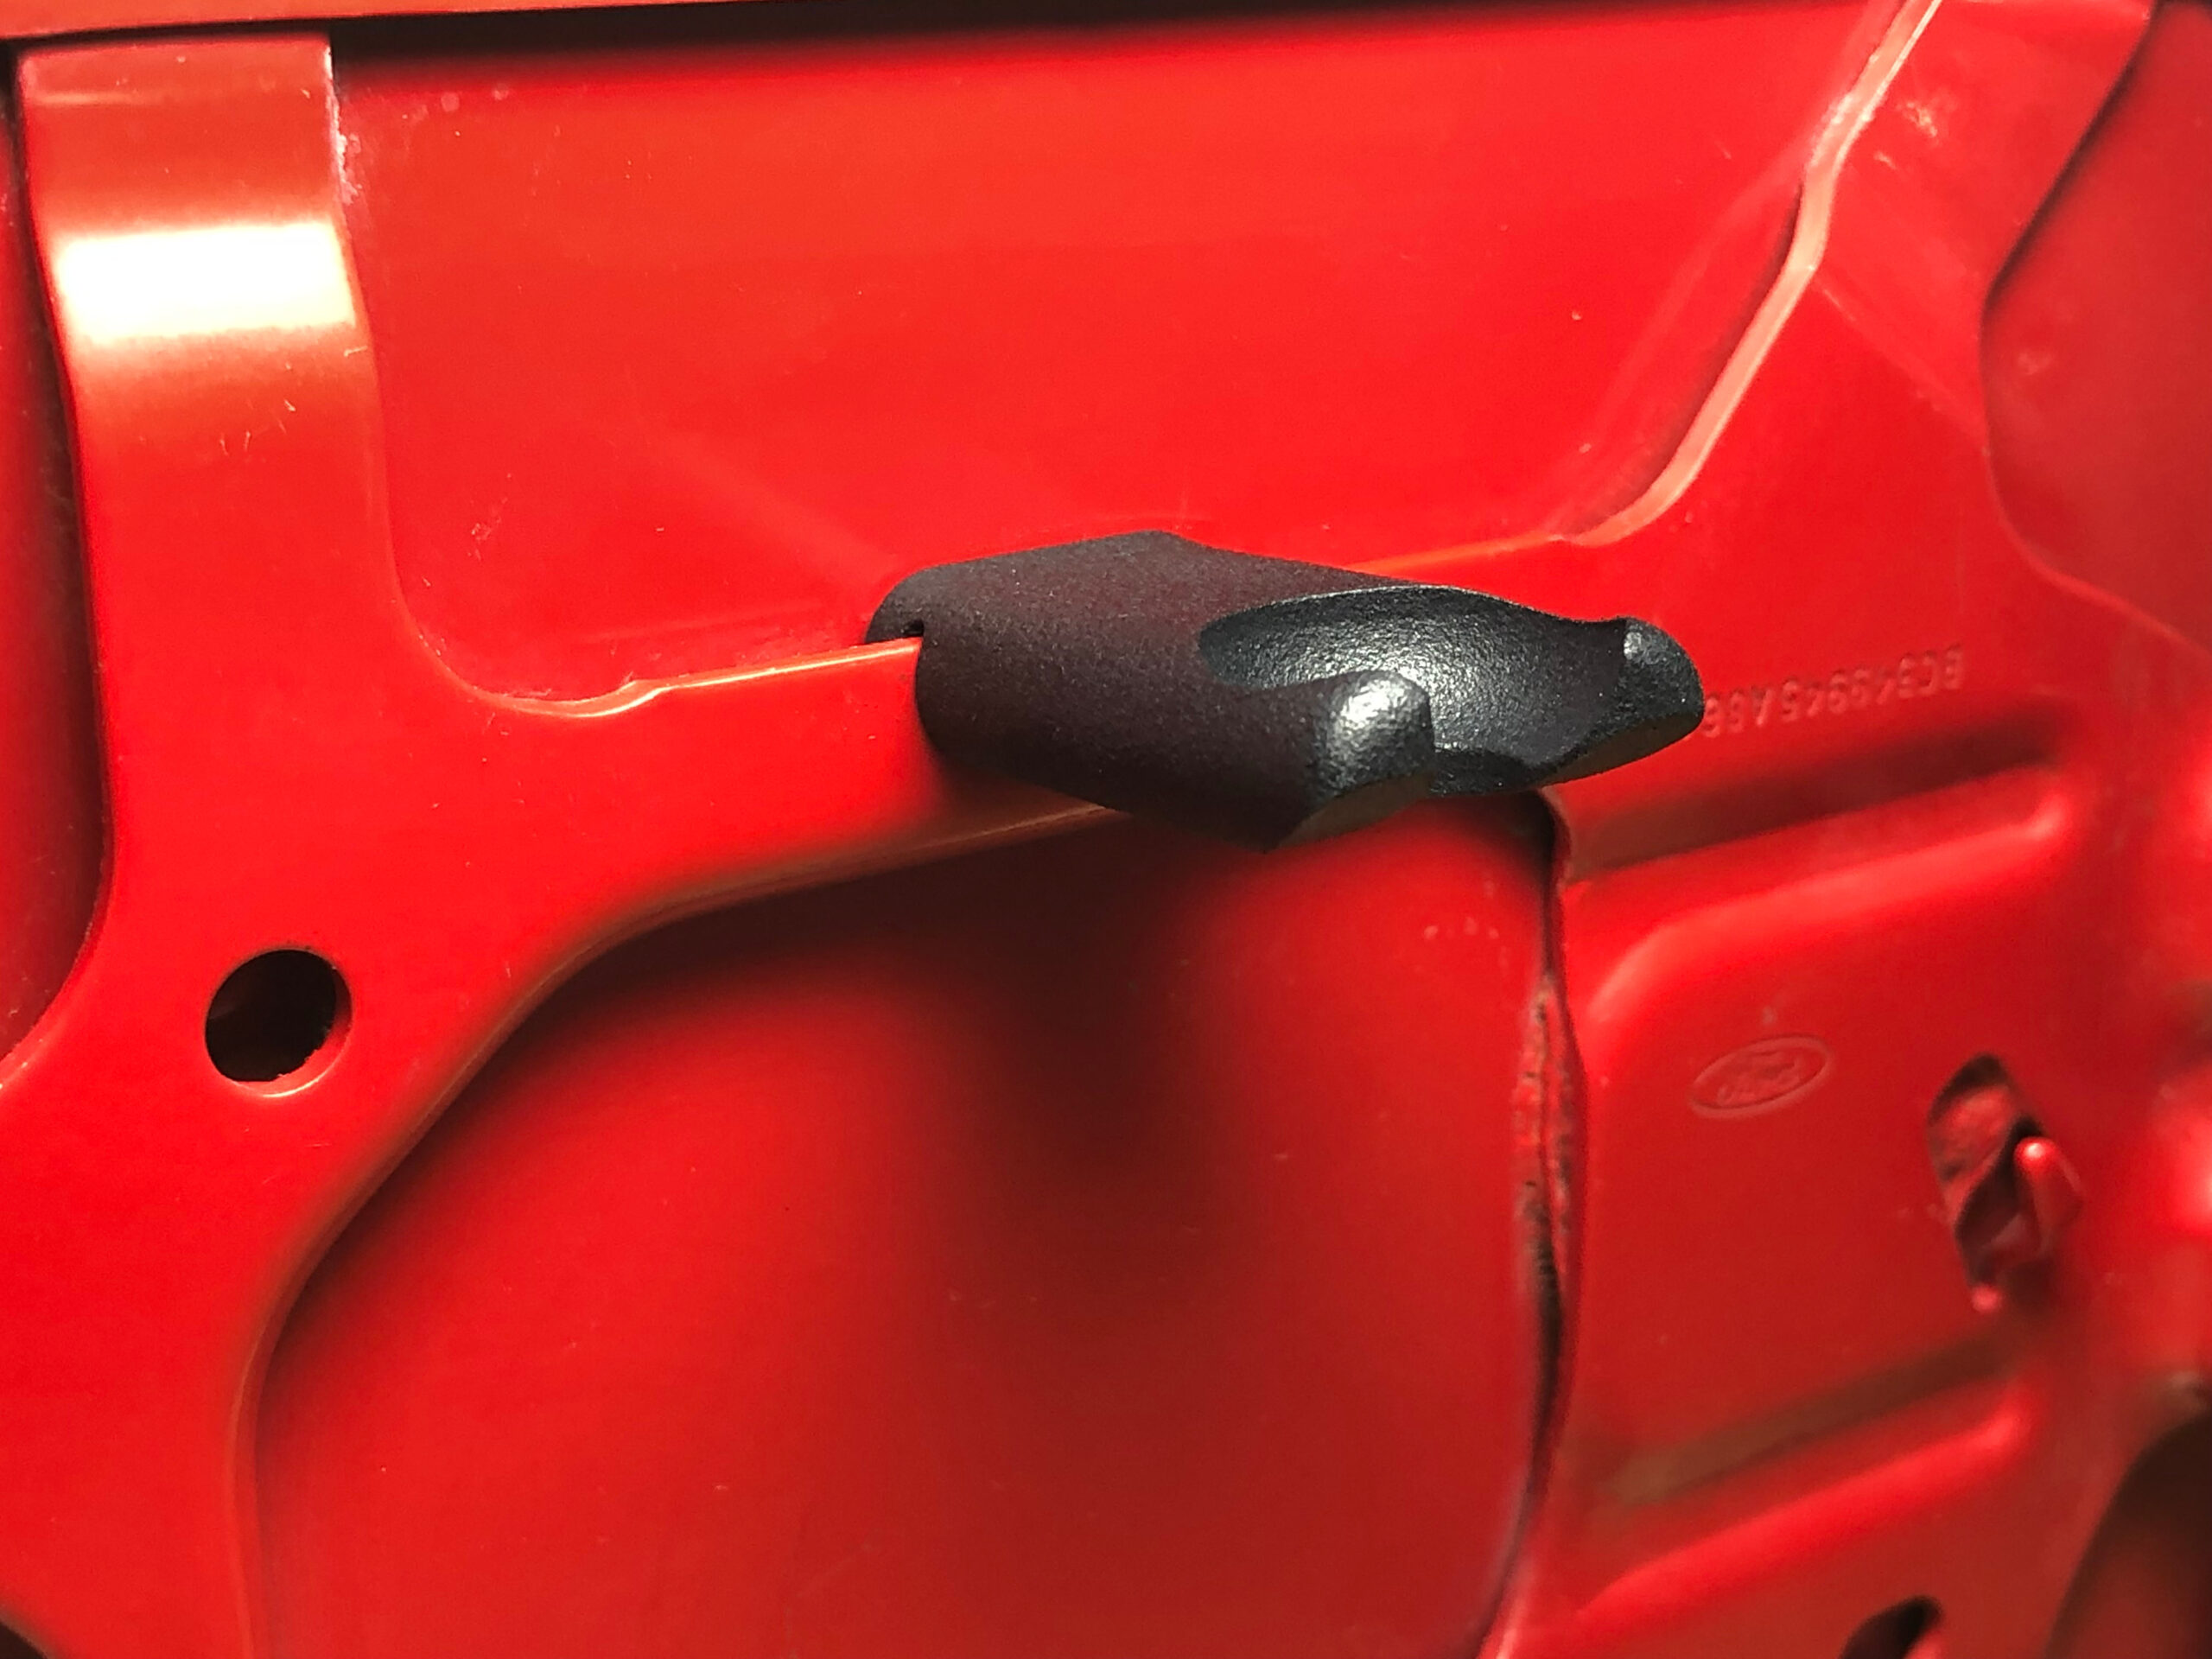
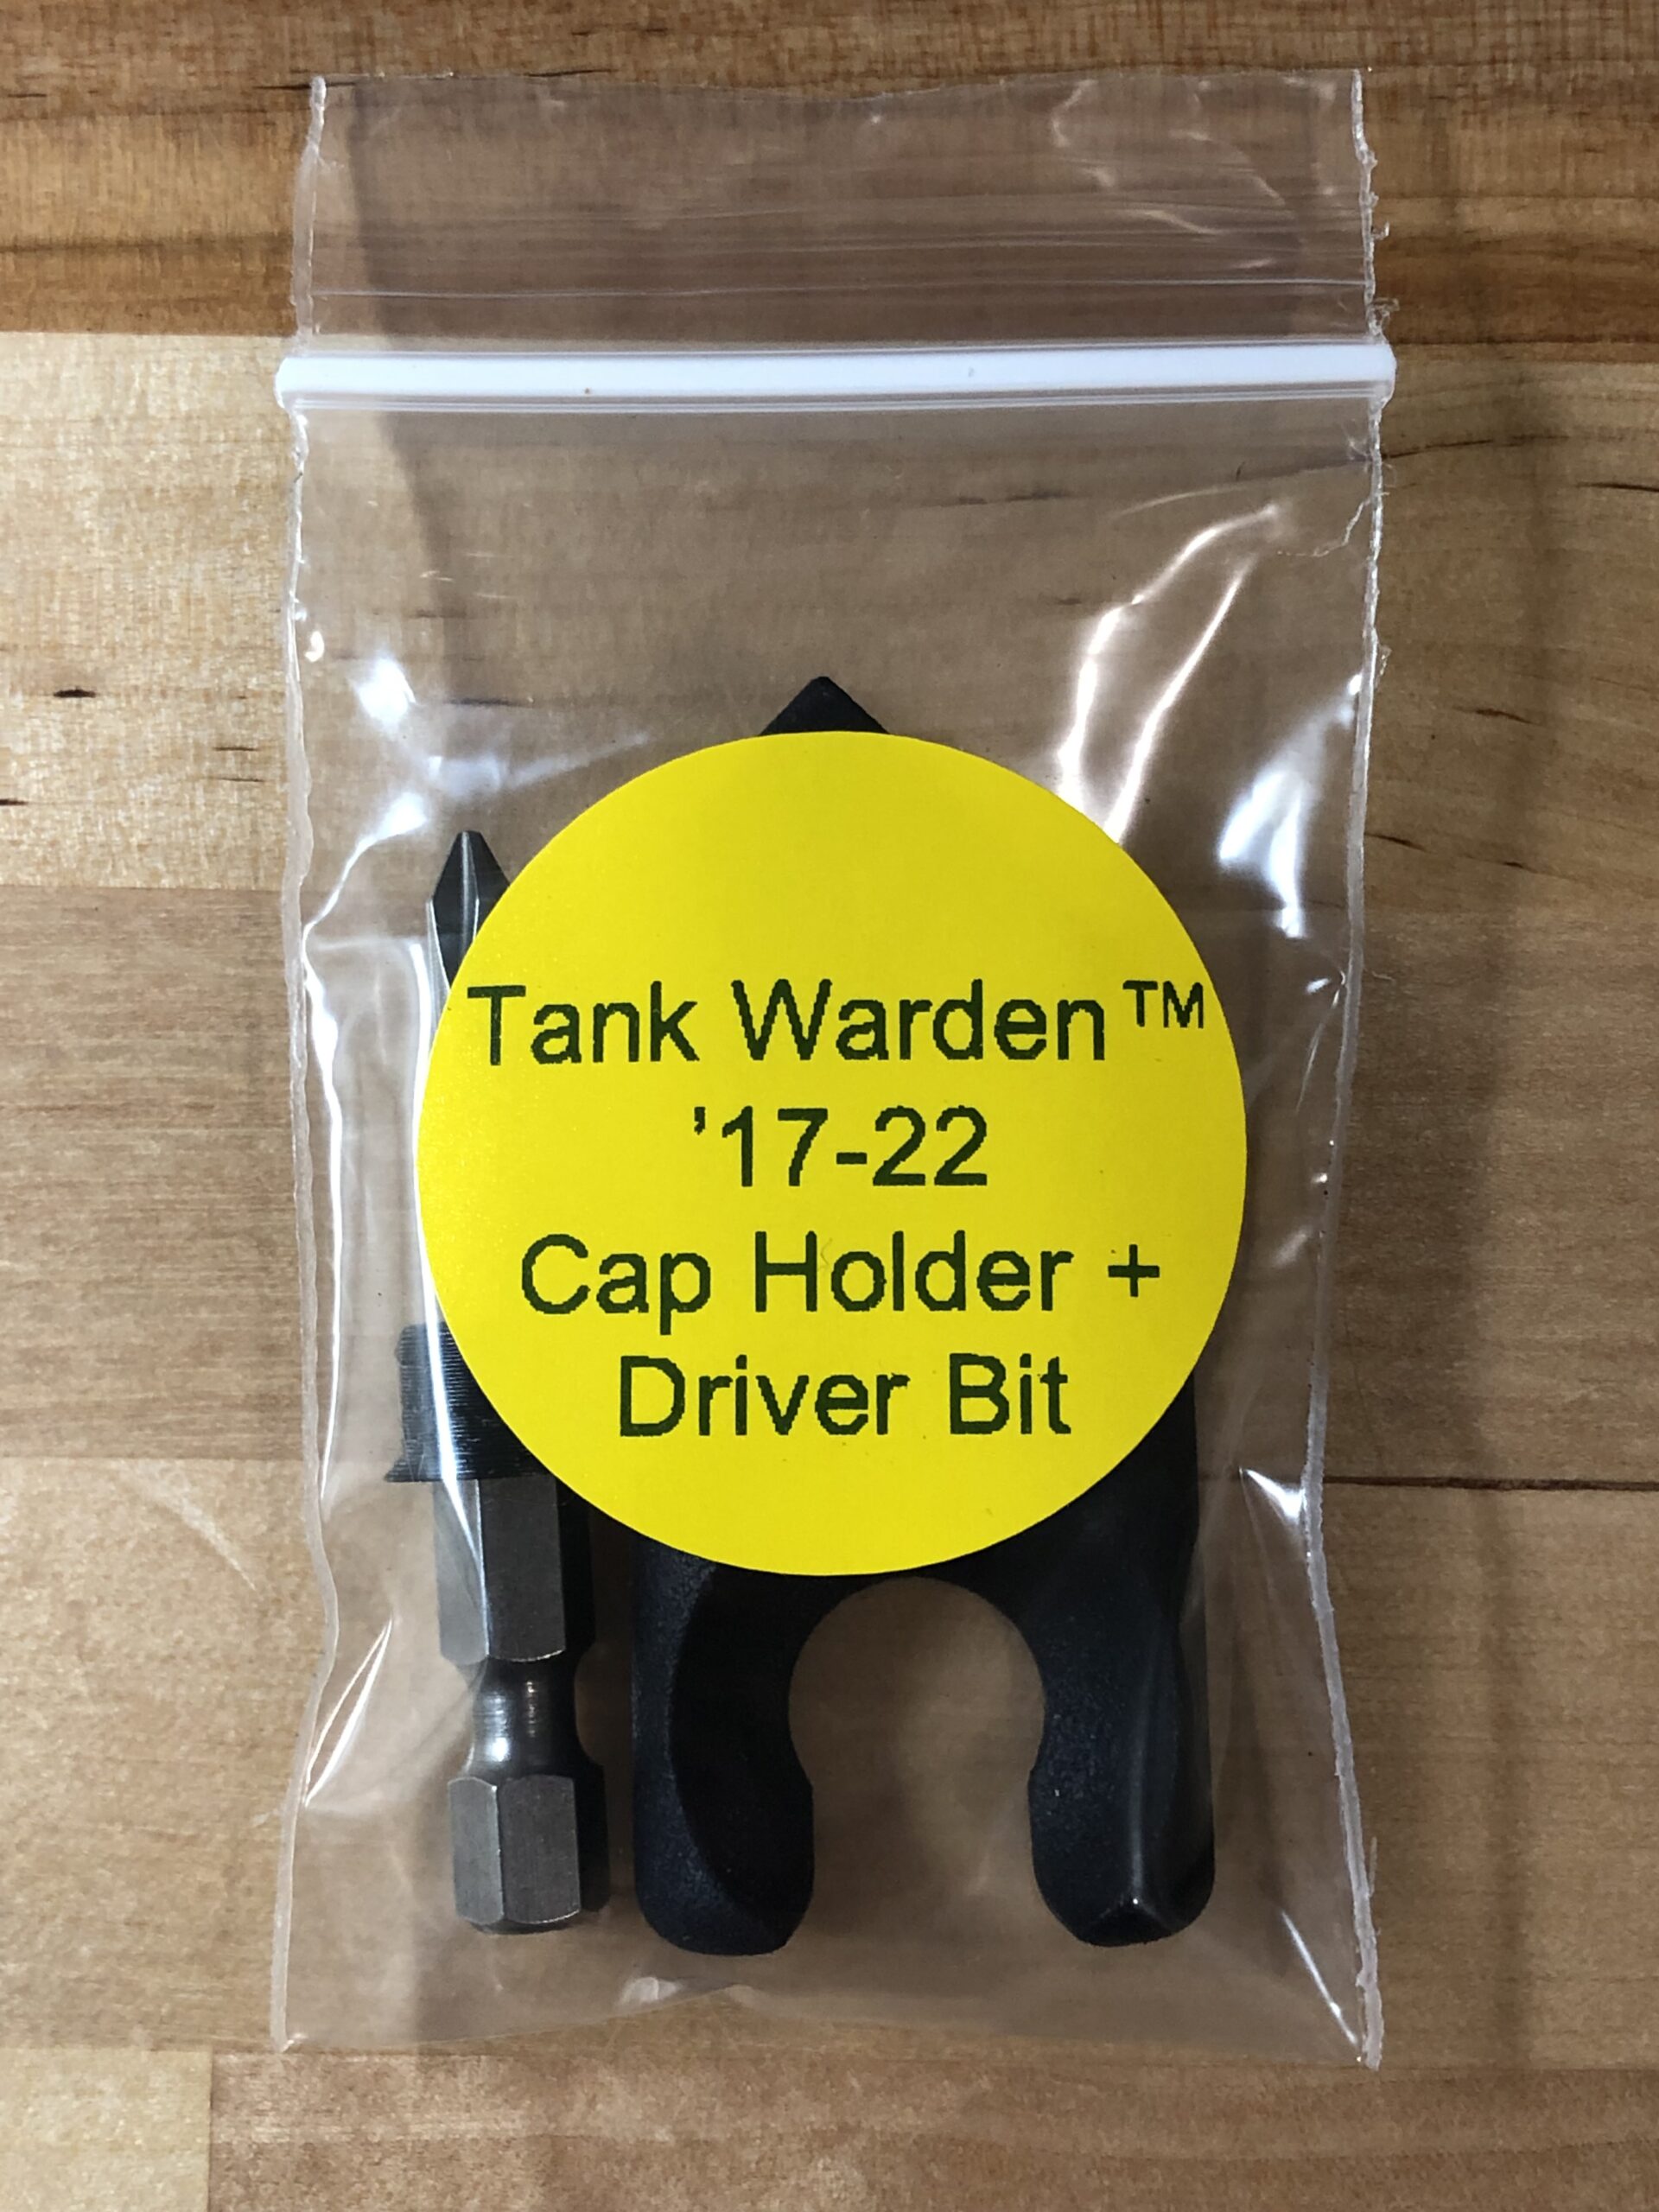
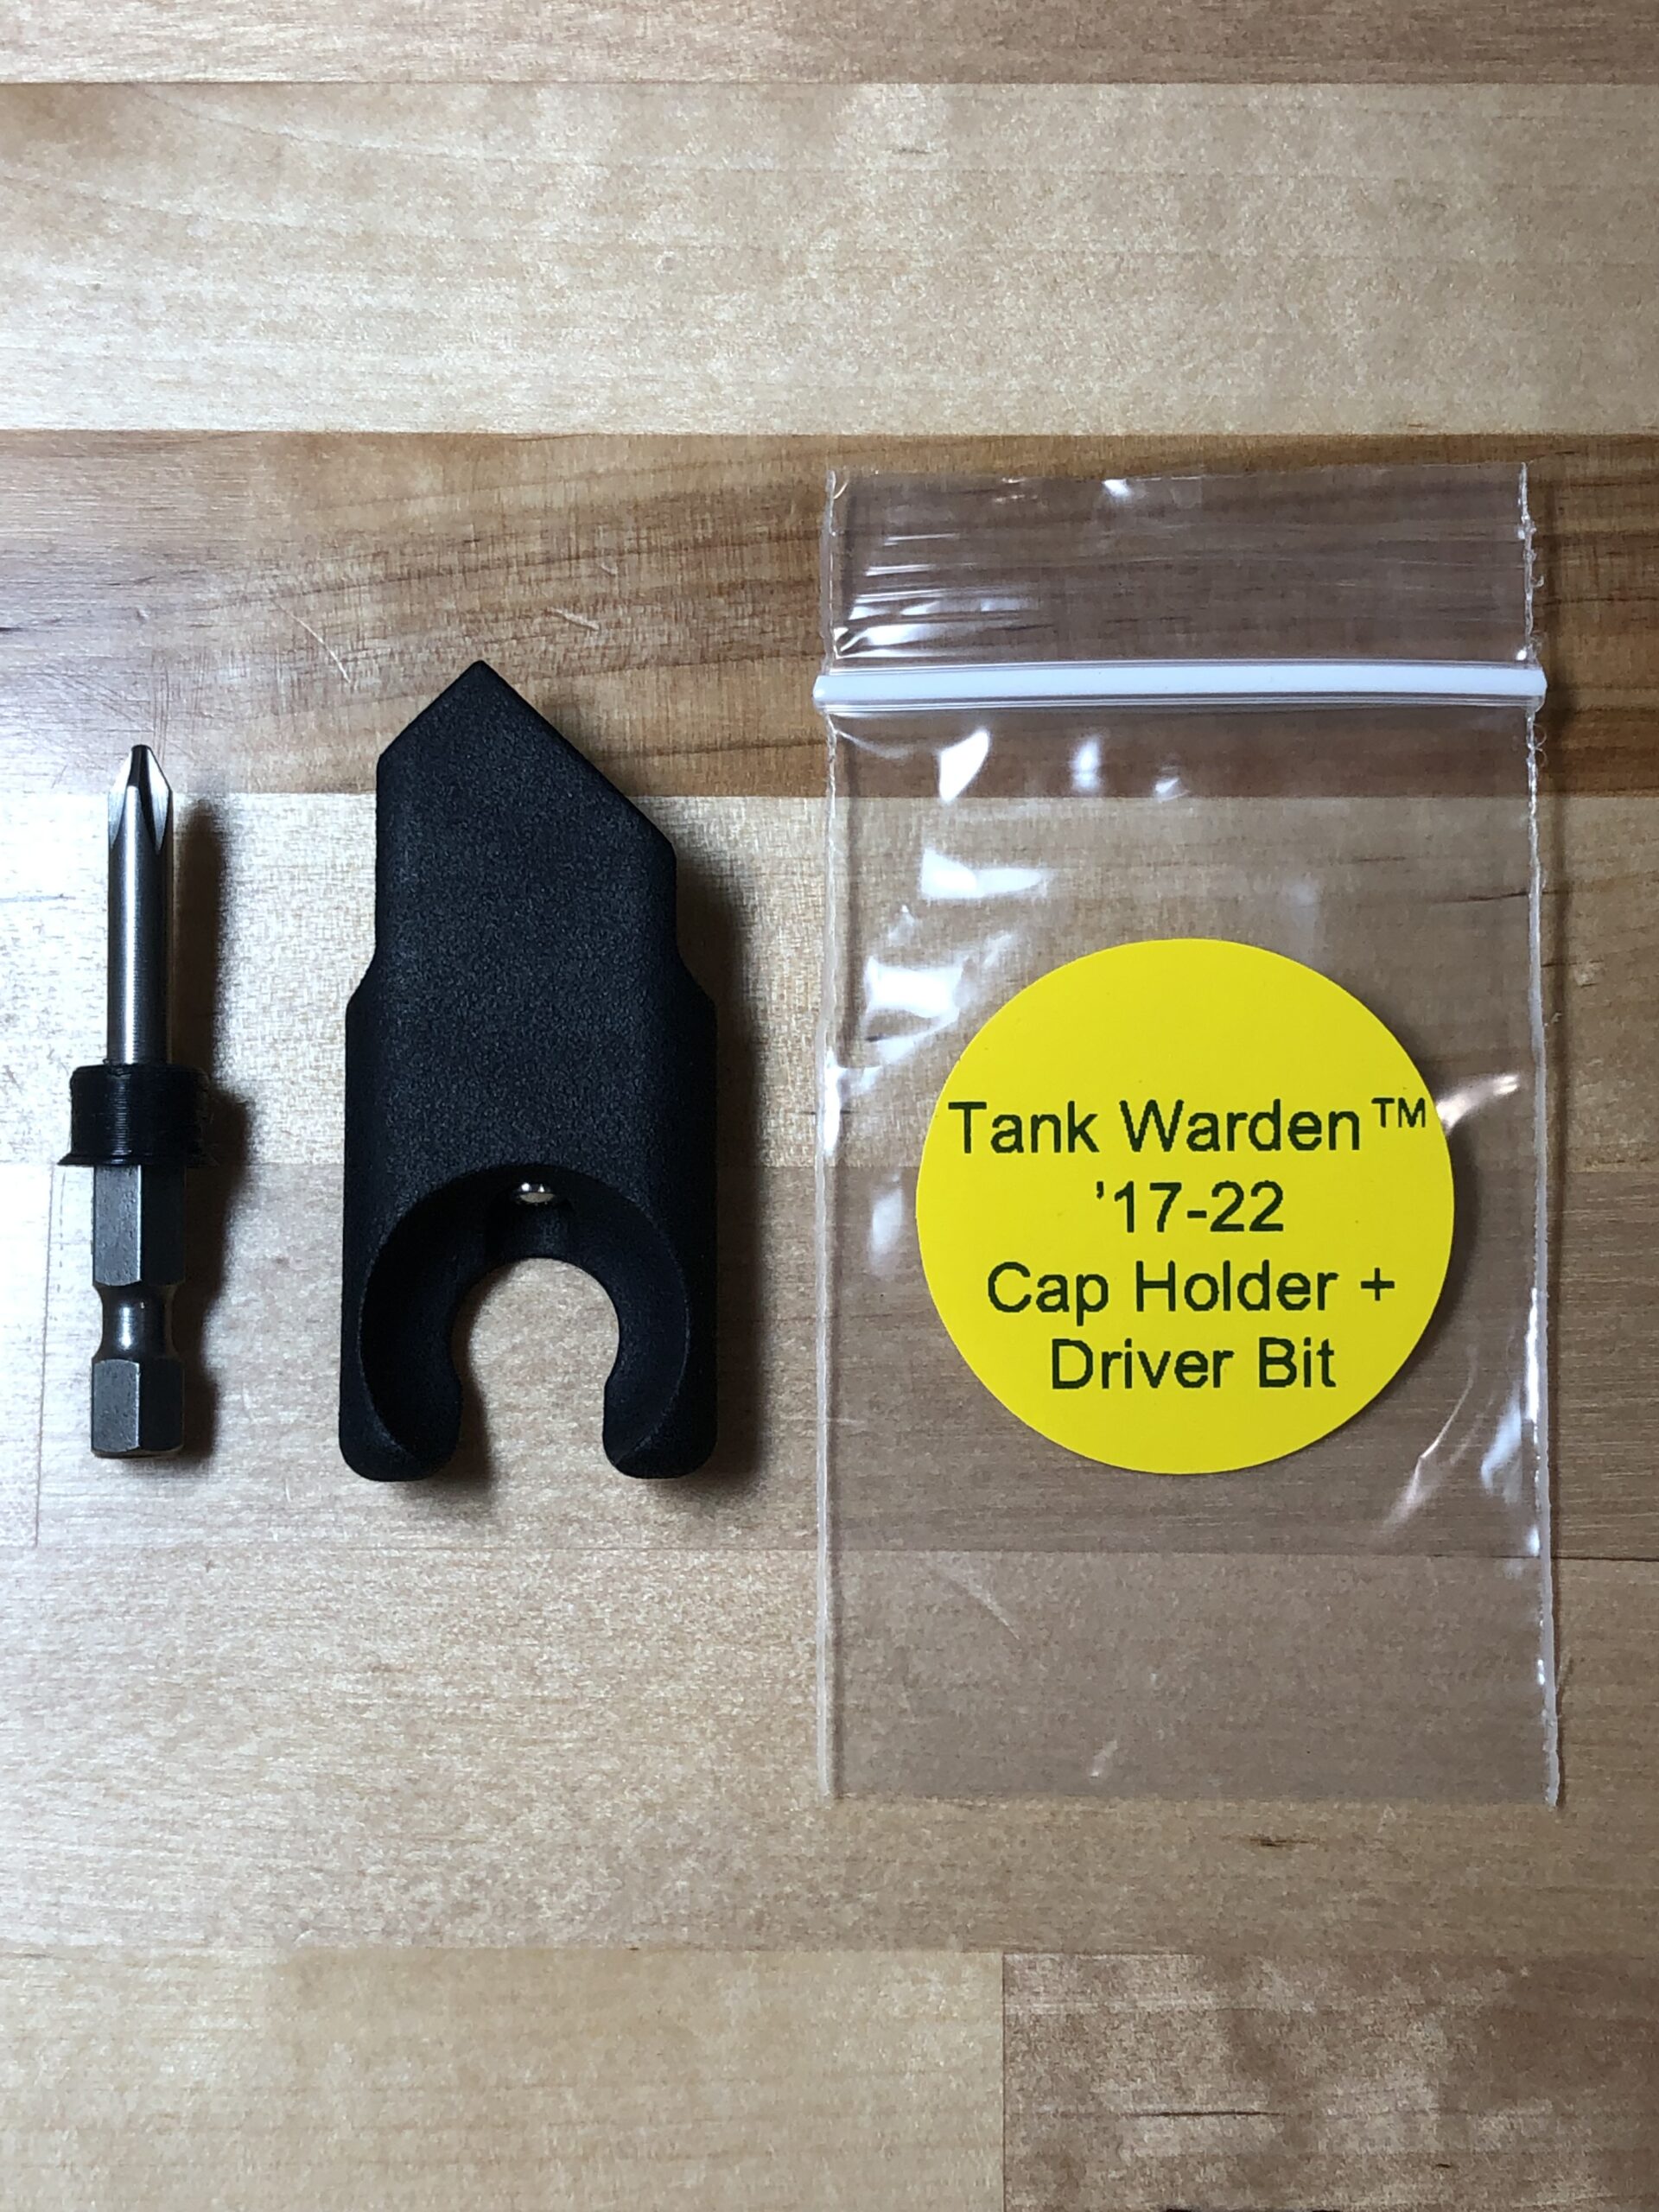
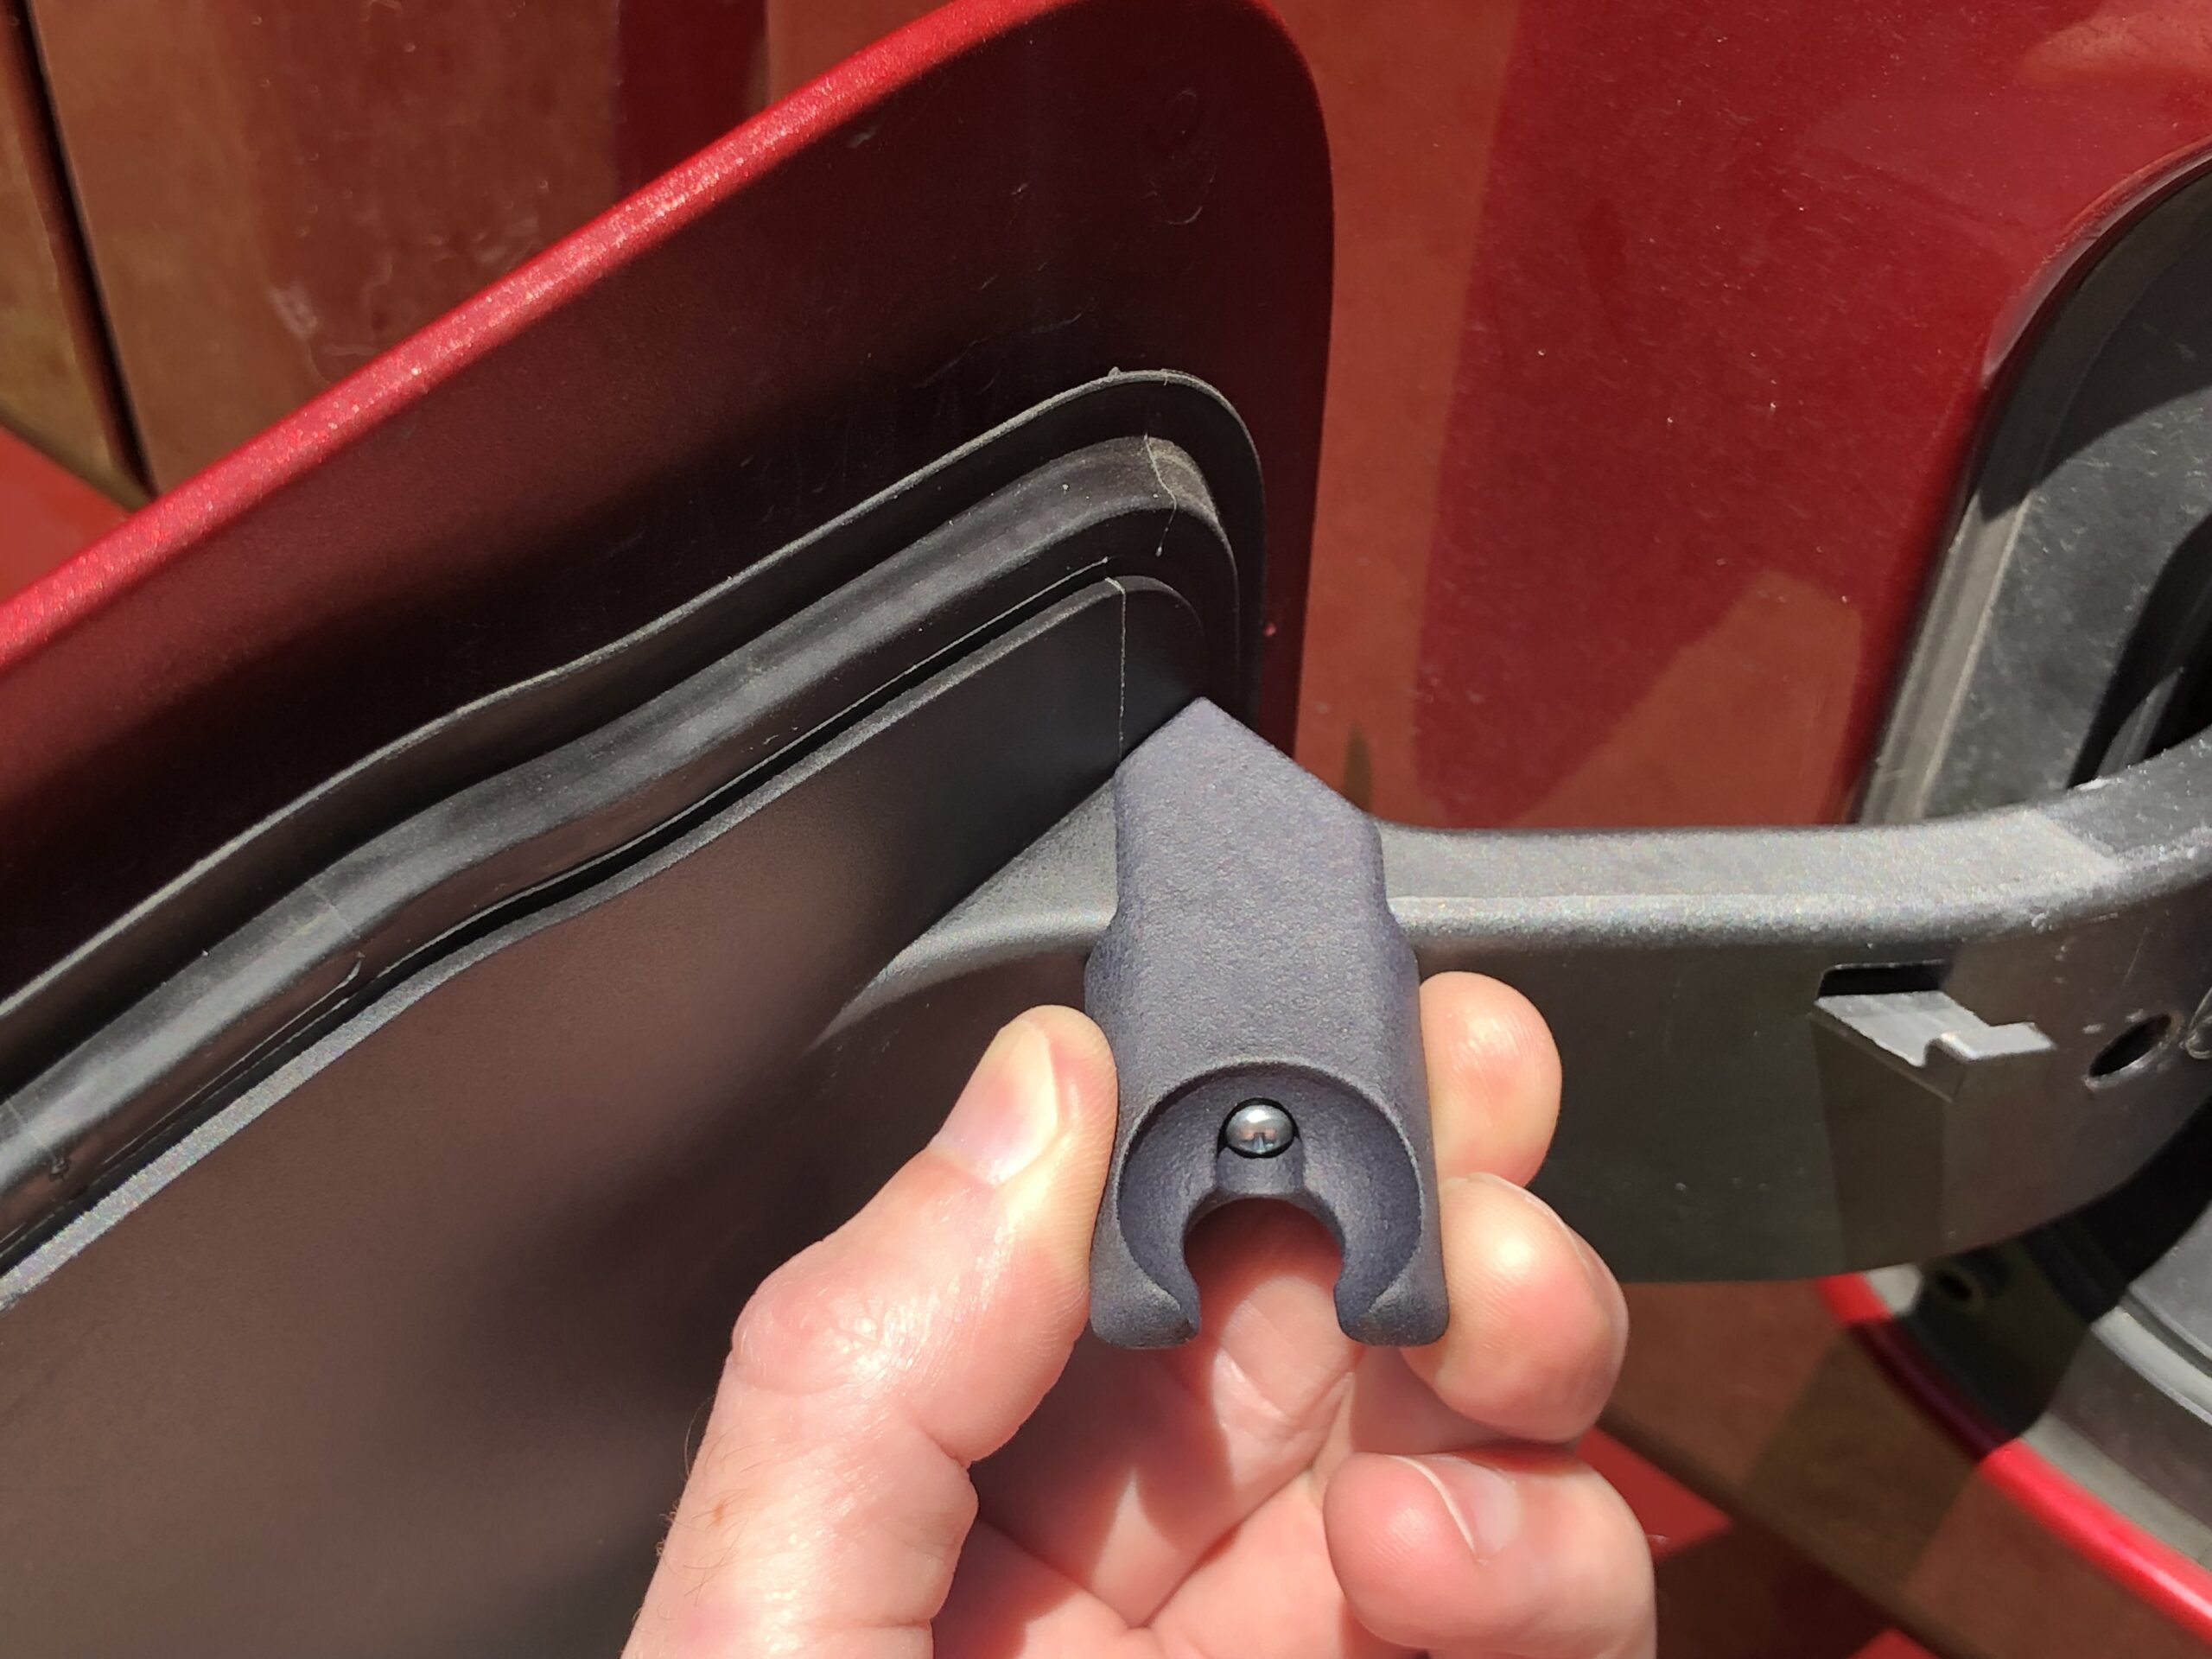
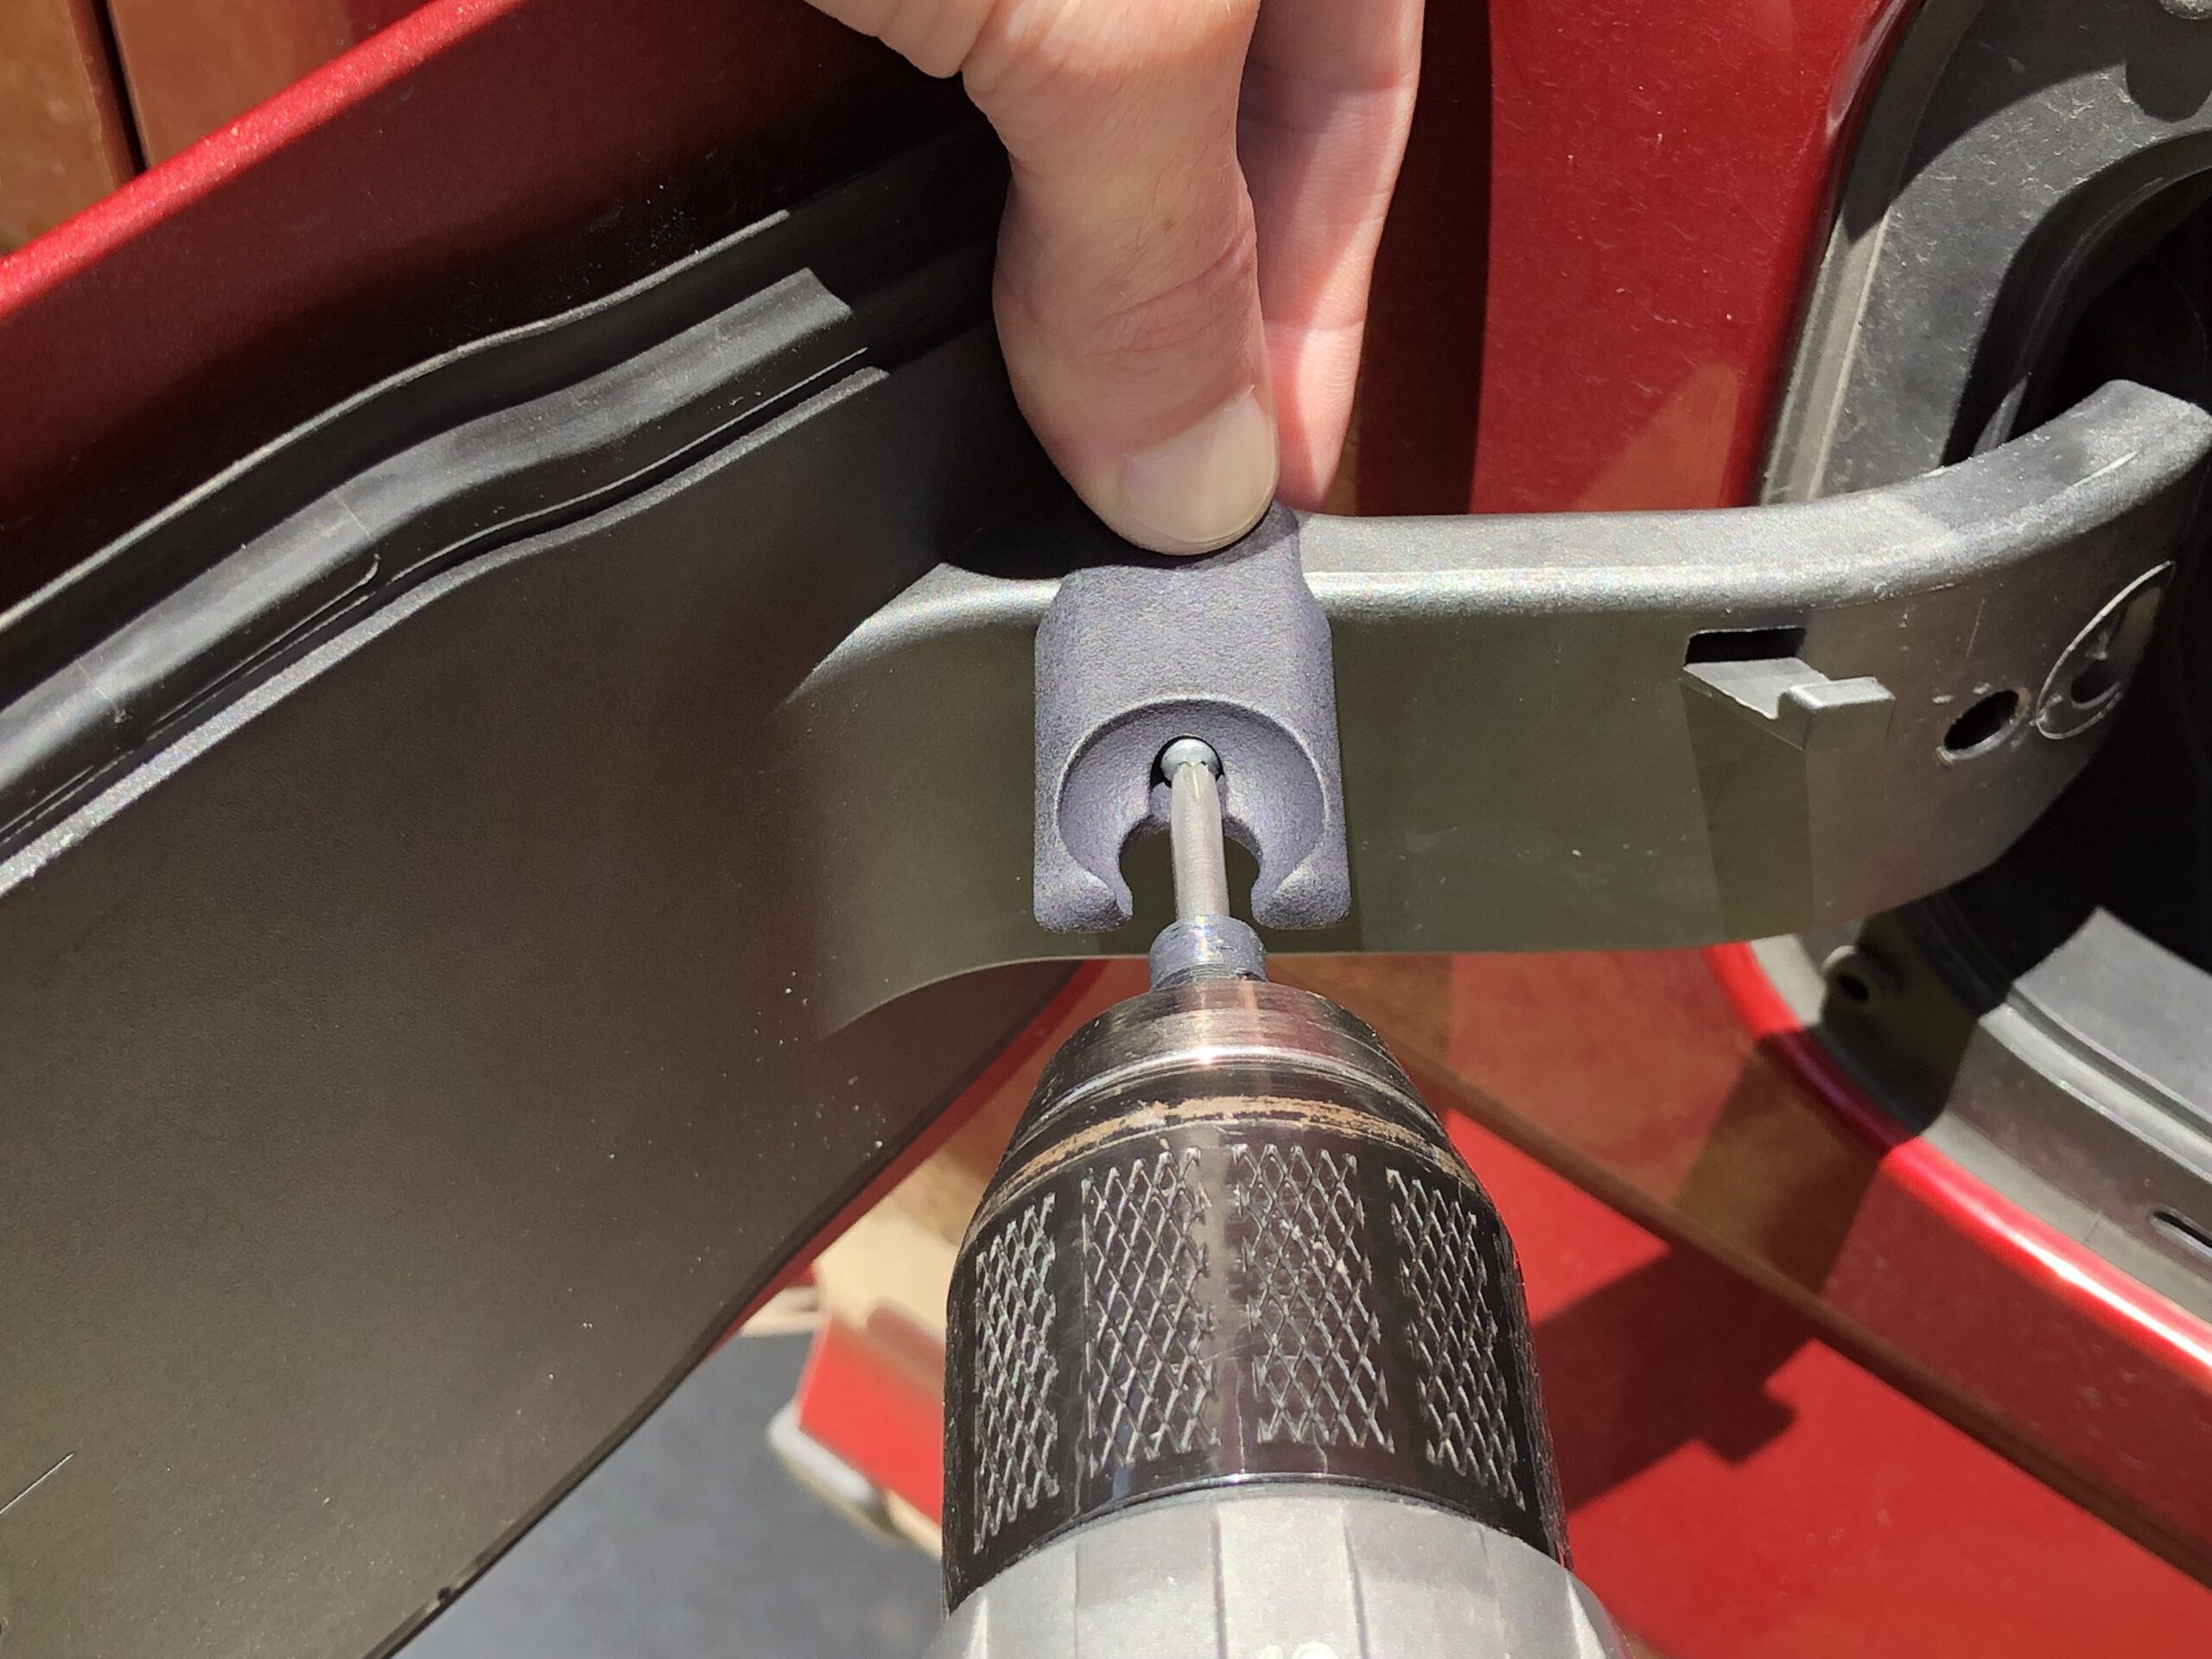
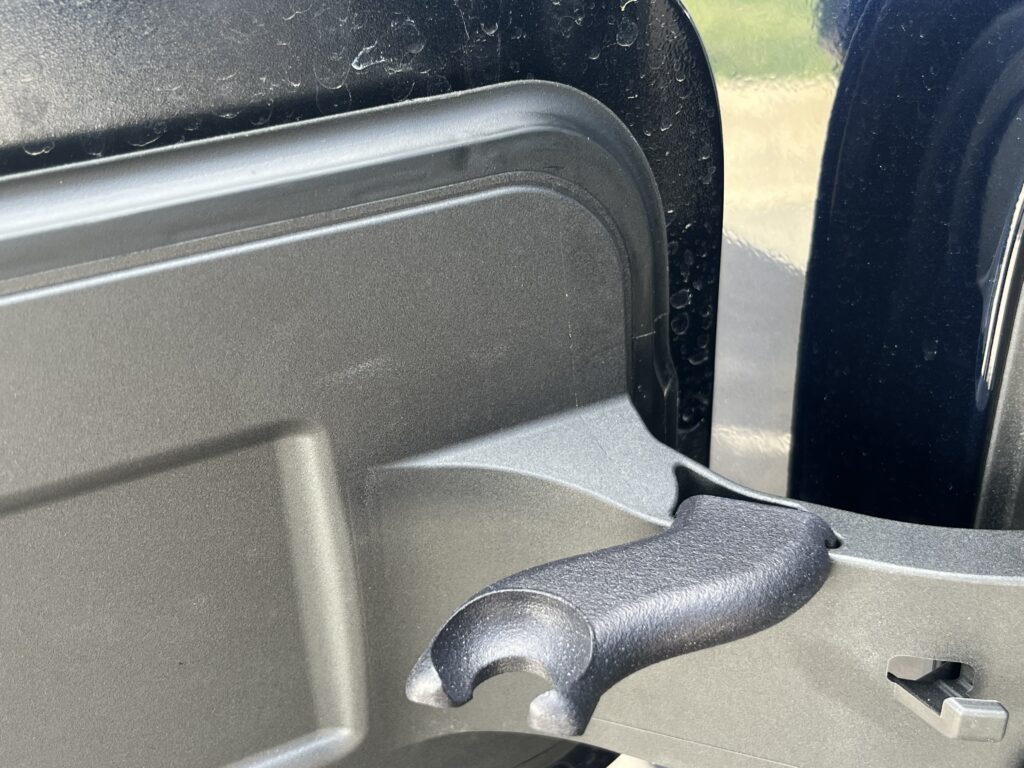
Step 2: ’17-22 Trucks Only: Install the provided cap holder onto your fuel door by placing it on top of the left-most portion of the hinge arm, sliding it over until it stops. The shape on the top is designed to help you align it easily, as shown in the photo gallery above. While pushing against the top of the cap holder, use the included driver bit to fasten the cap holder to the hinge arm via the self-drill screw. Go slowly to prevent overtightening and stripping out the hinge arm’s plastic. Do not use an impact driver!
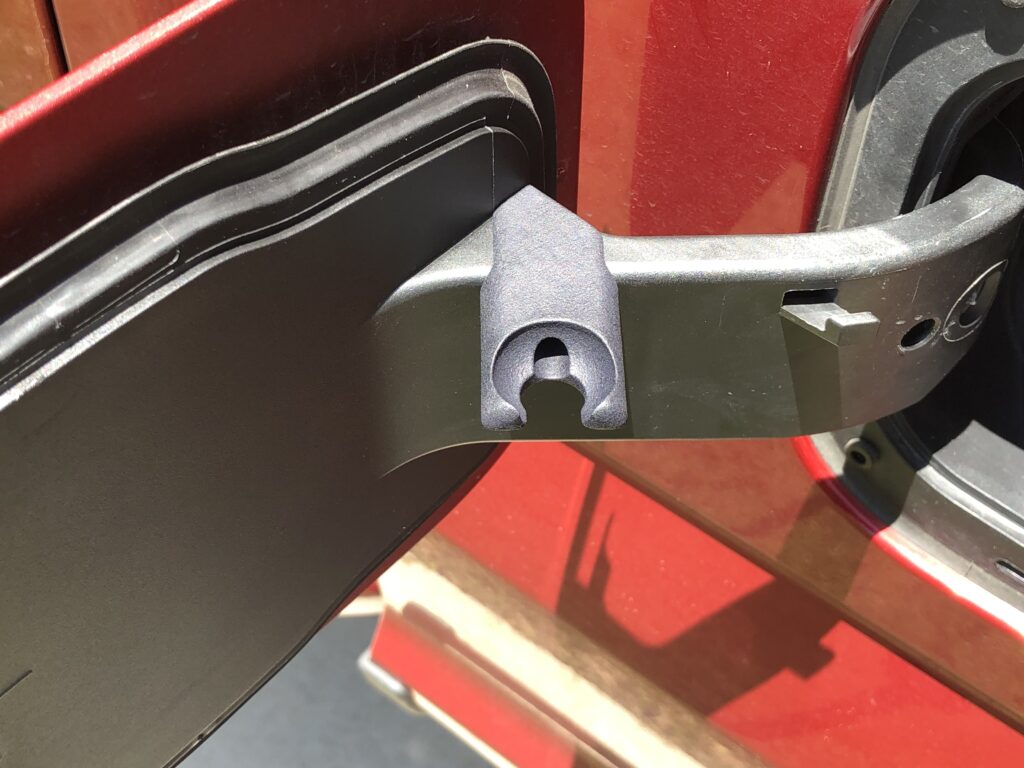
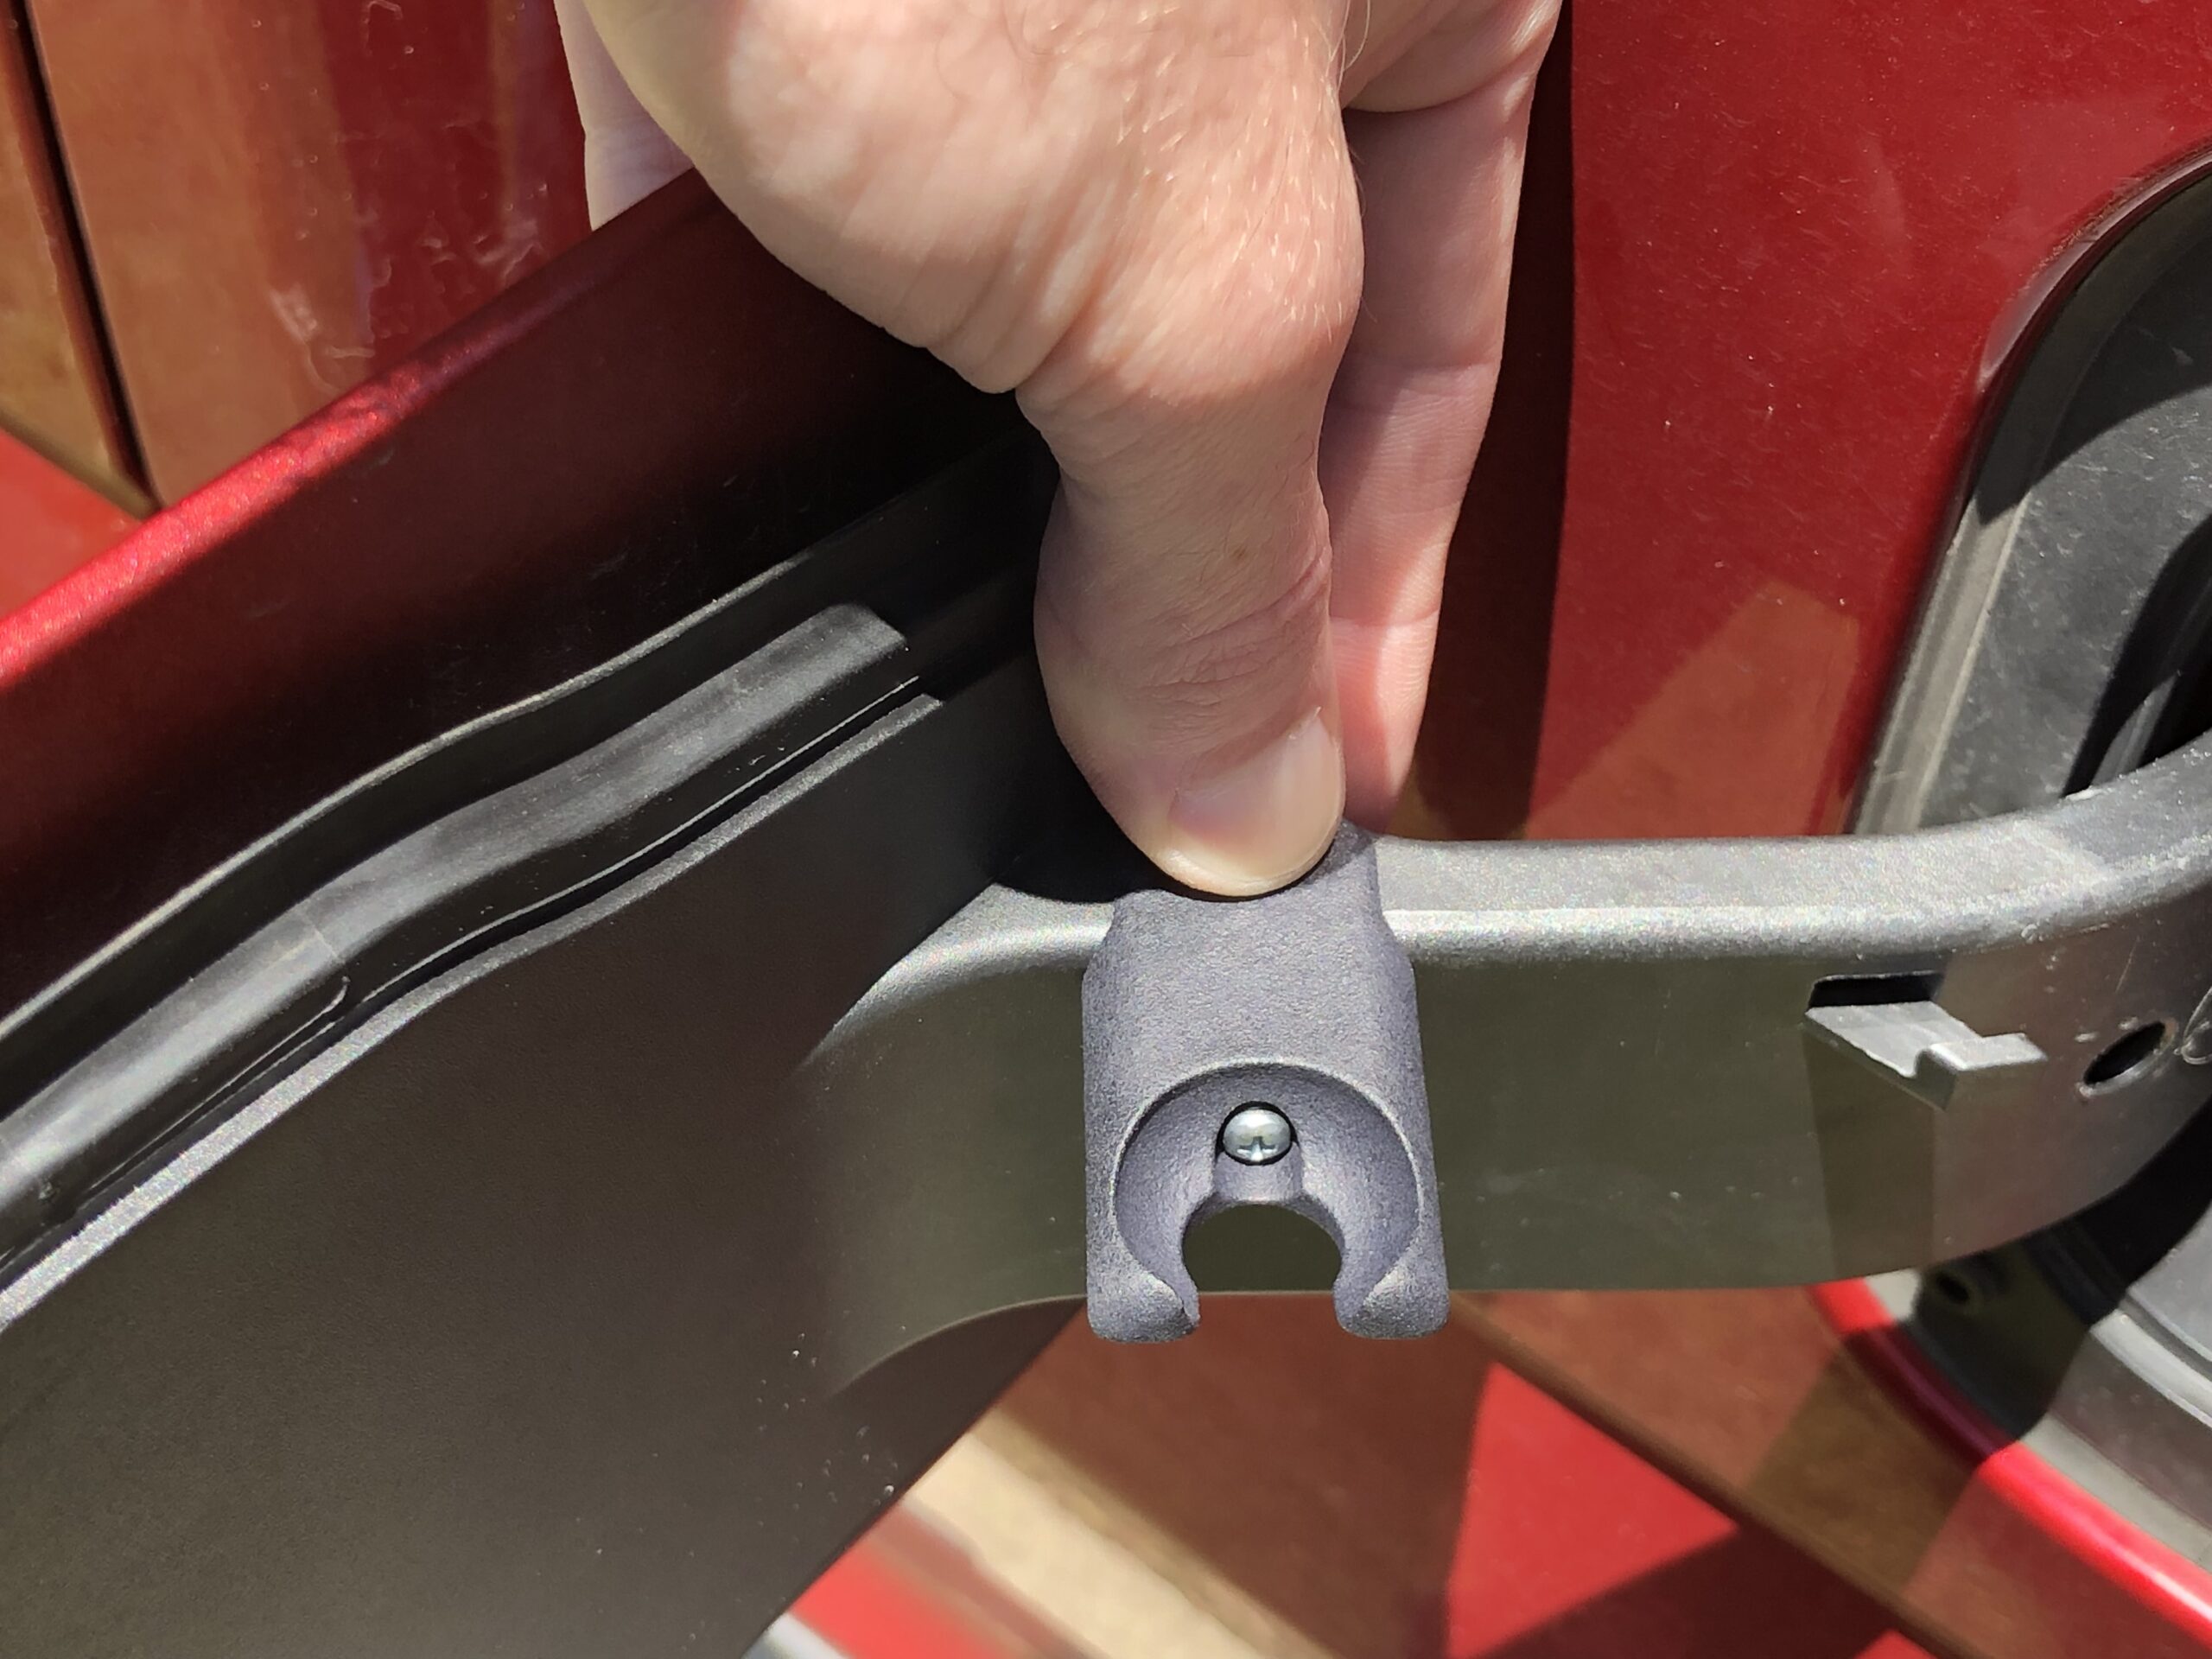
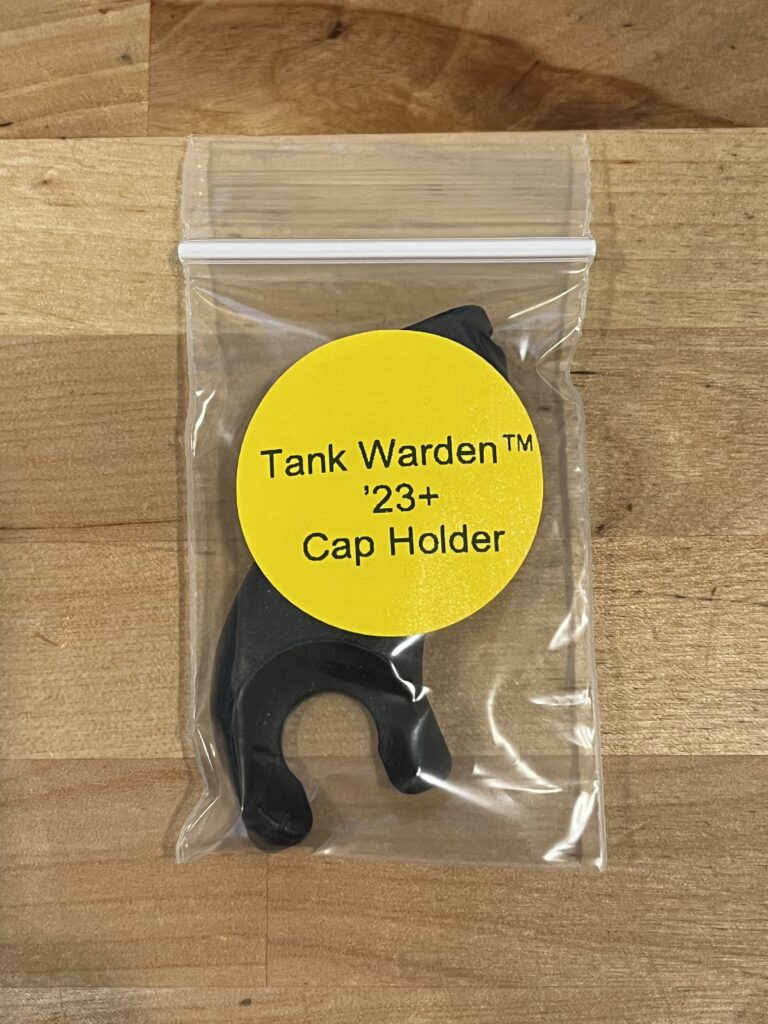
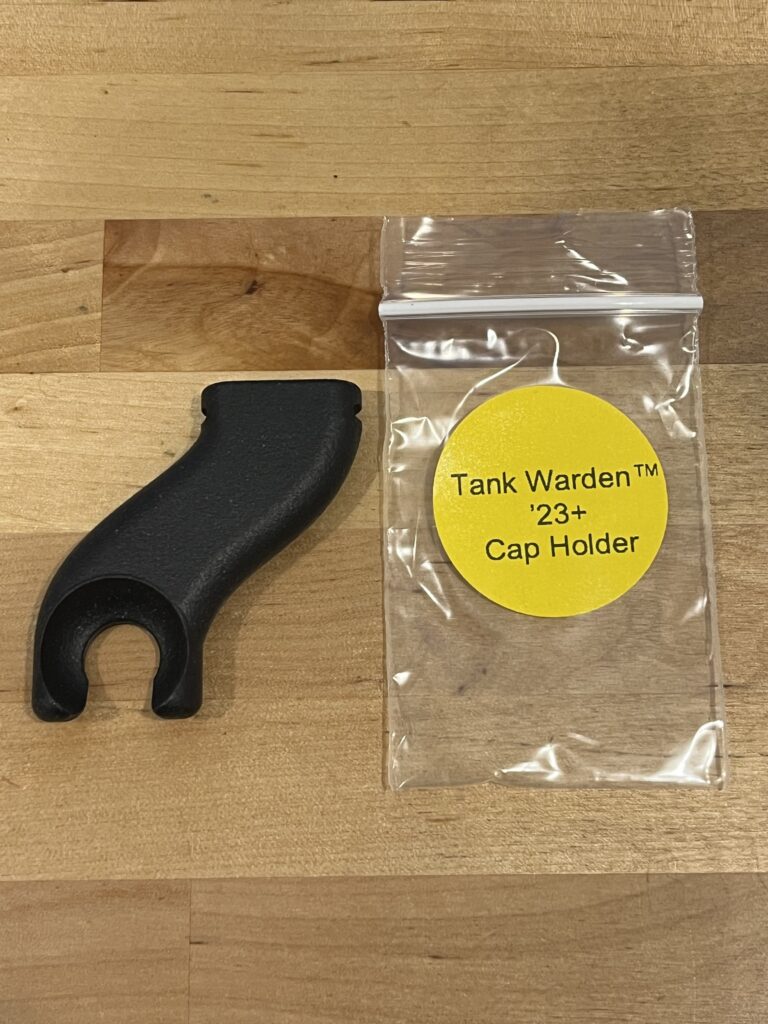
Step 2: ’23+ Trucks Only: Install the provided cap holder onto your fuel door by sliding it down over the pocket located on the hinge arm, as shown in the photo. It is a friction fit and no tools are necessary. If you think the fit is too loose, you may reinstall it with a drop of super glue.
Step 3: Cut and discard the zip tie on each Tank Warden cap. The internal spring will extend the plunger and retention ‘fingers’ of the cap and is now ready to be put on the filler neck. If the plunger didn’t extend, simply pull on the large cylinder at the end while holding the key.
Step 4 (please watch this video!): This video shows the best way of installing the DEF cap to prevent accidentally damaging the fingers. To remove, a twisting motion helps as well.
Step 4 (text): While the cap is in the unlocked state and the plunger exposed, proceed to install the cap over the filler neck, making sure to install it centered and at the same angle as the filler neck. Make sure the retention fingers fully wrap around the periphery of the filler neck.
Lastly, push inward on the key to allow the outer aluminum sleeve to cause the retention fingers to move inward and be protected by the sleeve. With the sleeve fully bottomed out, simply turn the key a quarter turn to the left and remove it; the key cannot be removed until the cap is fully seated and locked. The cap is now installed. With practice, this will become much easier. You may need to wiggle/turn the key slightly to be able to remove it; over time, this will become easier as the key and lock cylinder ‘break-in’.
To unlock the cap, align the red dot on the black handle of the key with the red dot on the lock cylinder and insert the key. Turn the key a quarter turn to the right, and the cap’s outer sleeve will spring outward. Simply pull outward on the key to remove the cap from the filler neck. If the spring didn’t push the outer sleeve outward, simply pull outward on the key. Over time, the parts will wear-in to each other and will become easier.
To use the cap holder, simply flip the cap upside down and rest the lock cylinder’s hemispherical head within the matching shape of the cap holder. The key should be pointing towards the ground.
This is a living document and may be improved over time. Last Updated: February 8th, 2025 – 11:07 AM CDT